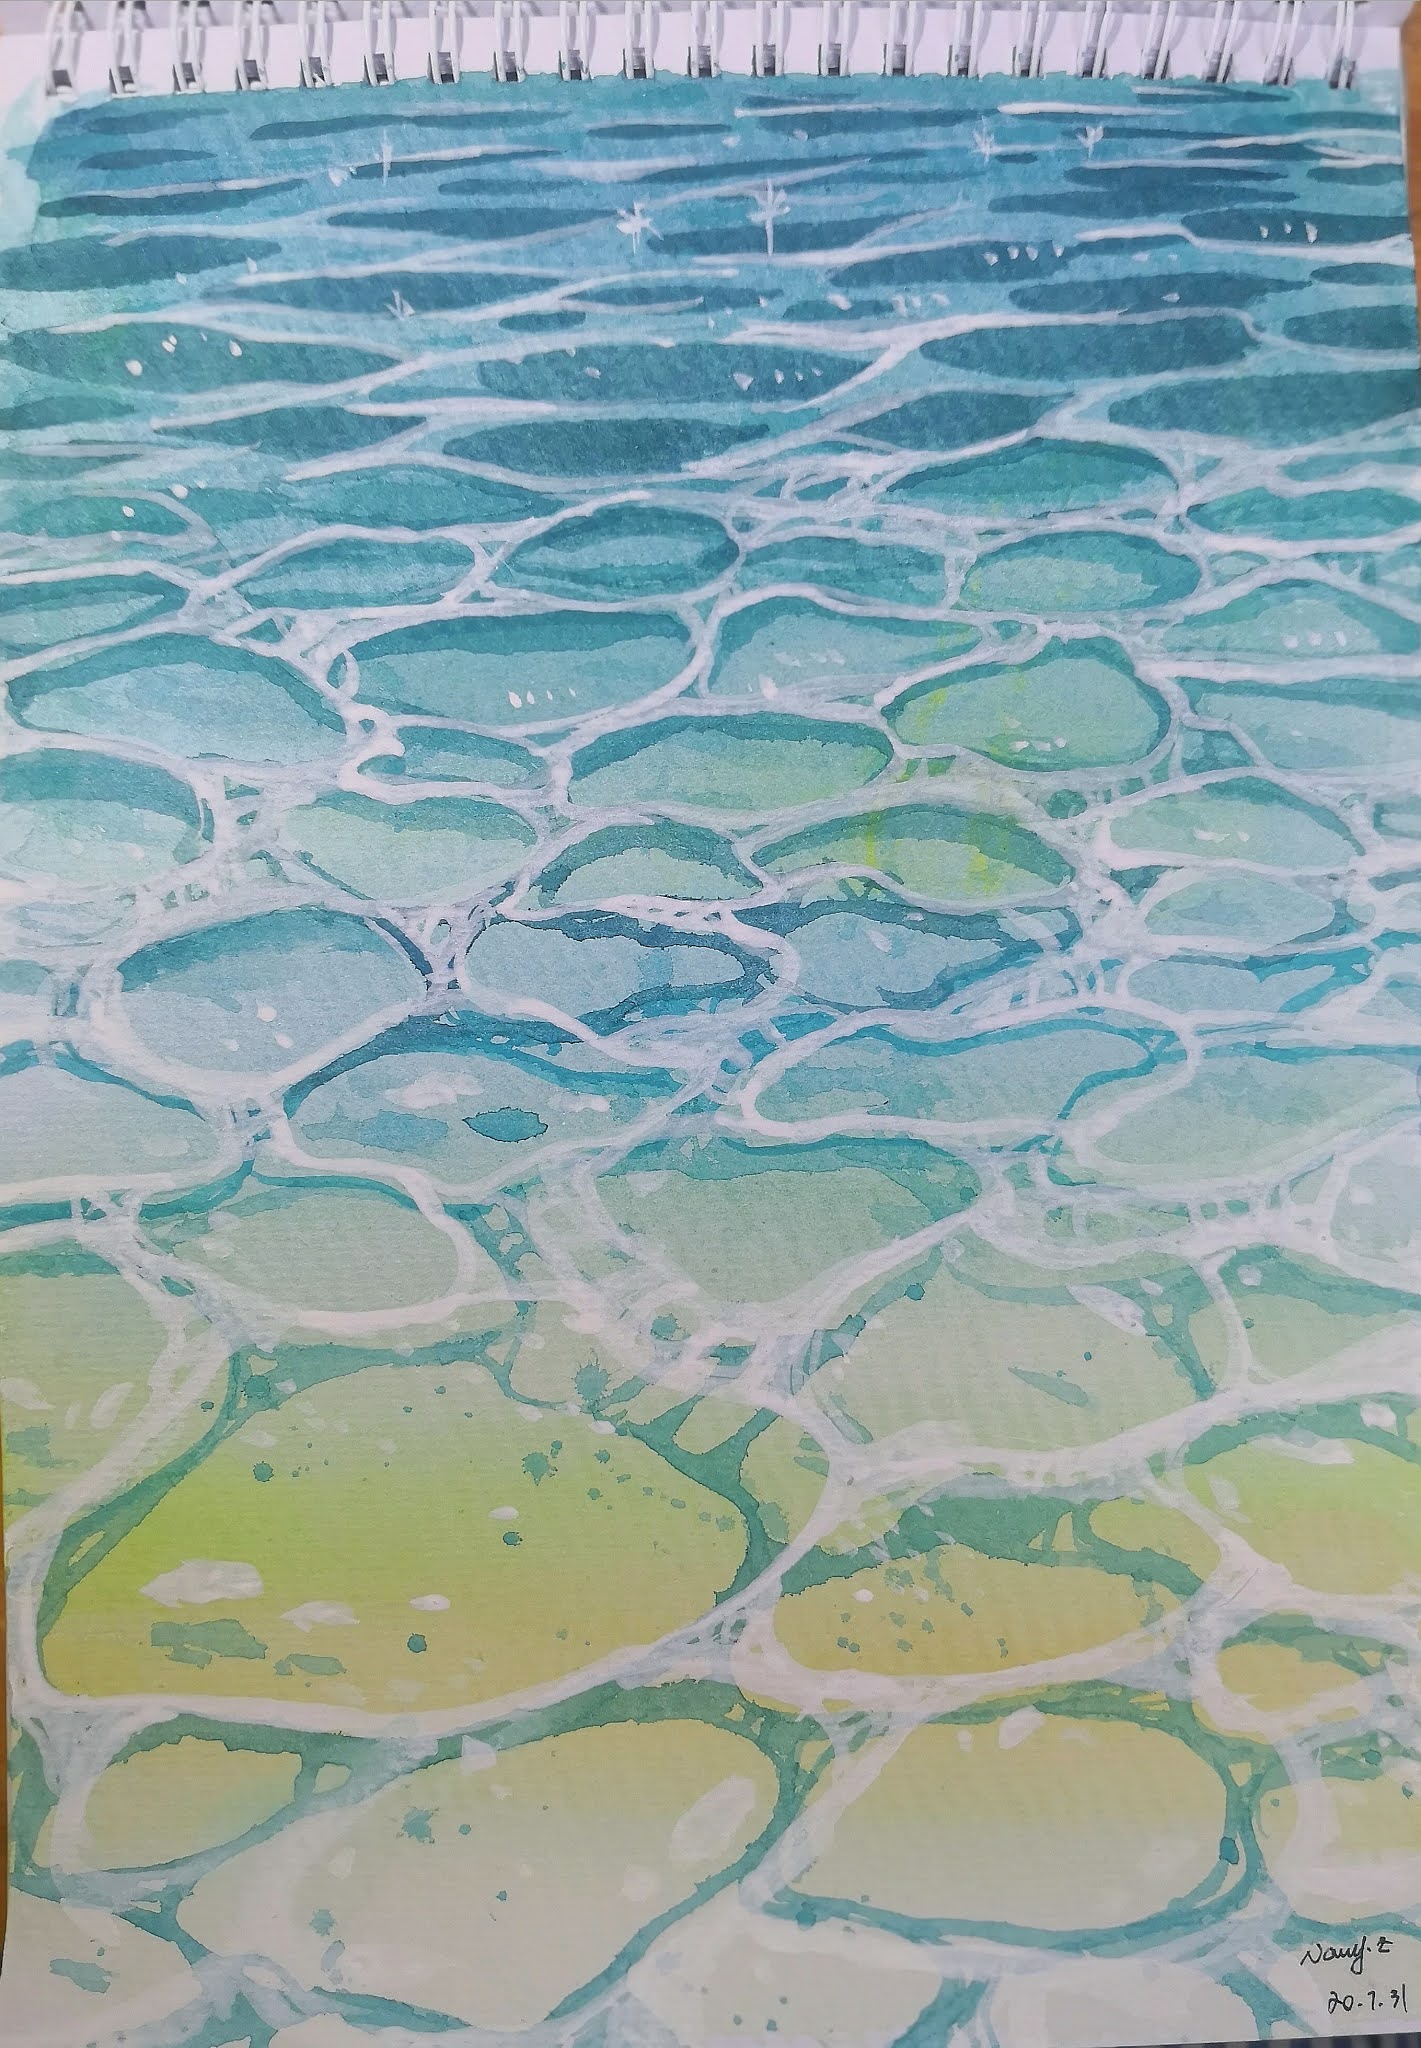
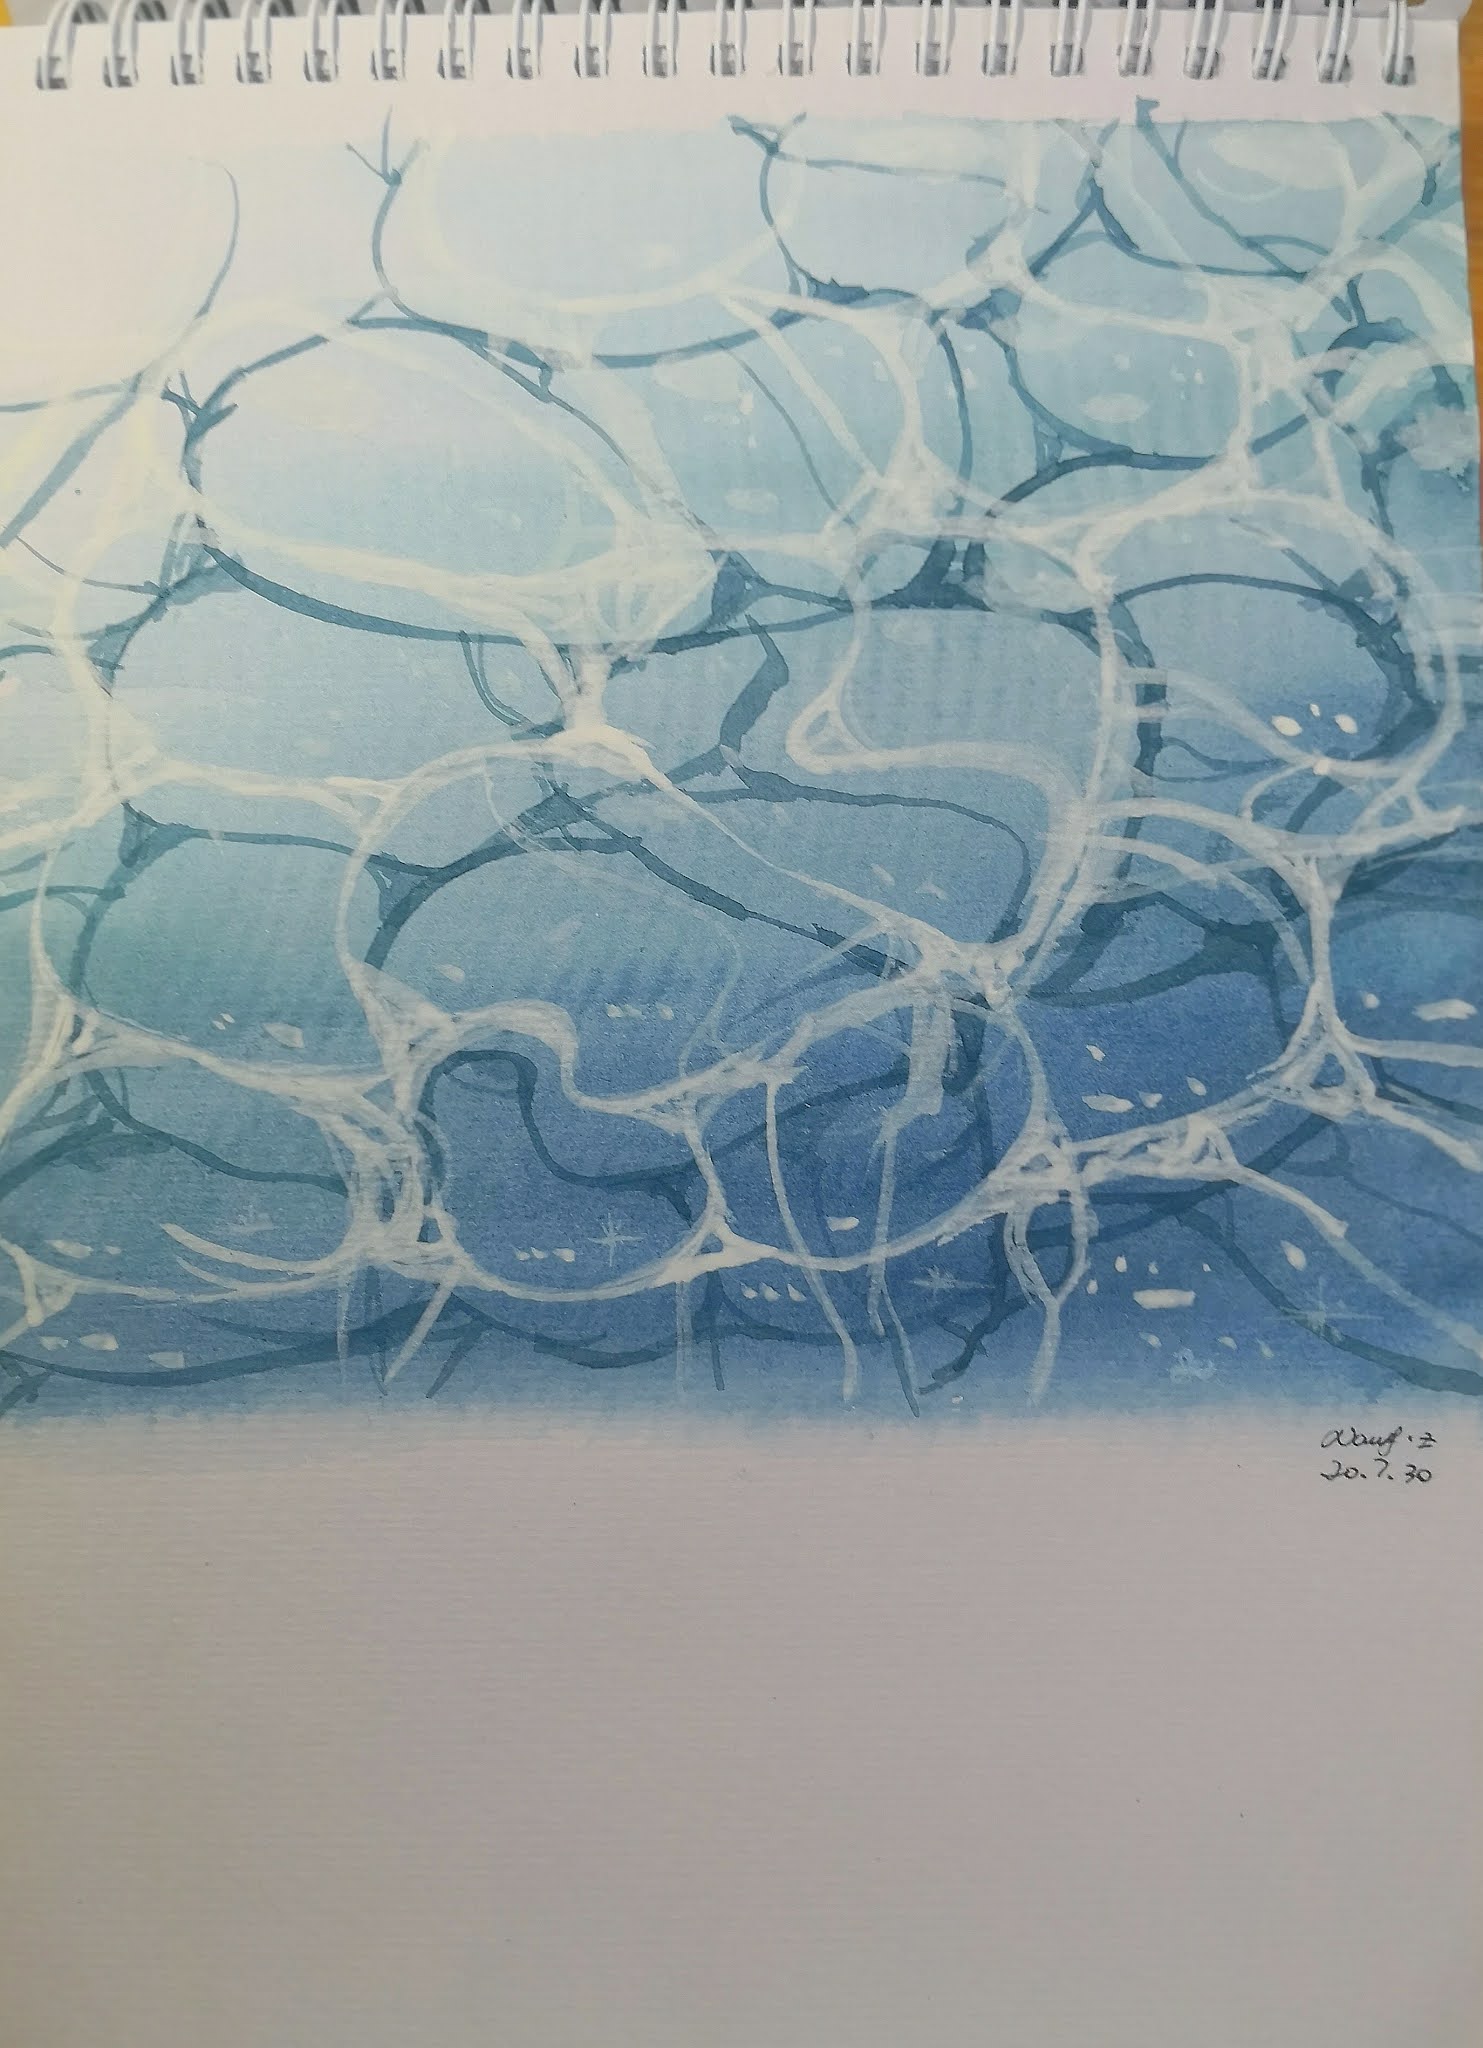
2 ways How to draw Watercolor splashing water step by step tutorial easy for a beginner,3 techniques of watercolor
Under the coronavirus in 2020, we cannot go swimming in the sea and travel in the hot summer. So we can paint at home. I like to draw water recently because the weather is hot but I can’t swim in the sea.
If you like painting, you can make money at home and sell your paintings on ETSY and Amazon. This is a very interesting thing.
3 techniques of watercolor
1Transparent effect.
Apply a layer of pigment first. Wait until it is completely dry. Apply a second layer of pigment. Because the characteristics of watercolor are transparent. So this technique can draw a transparent and light feeling.
Add a small amount of water with the pigment. Then use a dry brush to rub the pigment. The effect of drawing is like this. It can represent a rough texture. It can also be used to show the sparkling of the sea surface.
3.Wet painting.
Wet painting color gradient. First, apply a layer of water on the paper. Then draw blue Line, Draw the middle yellow when wet. Finally, draw red when wet. This method has a very soft color gradient.
The basic principle of object perspective: size represents distance.
The nearest water circle is the largest.
The middle water circle. Smaller than the nearest water circle. Tonal aspect. Because the middle
water circle is from the perspective of backlighting.
The water circle in the distance. The shape of the water circle is smaller than the water circulation in the middle distance. The color is deeper than the middle.
The farthest water circle. Because the distance is too far, only the shape of the small vertical bar is seen. The color is the darkest.Step tutorial:
The first layer of color. Fill the outline with light blue, which is the lighter part of the water.
The second layer of color. Use a darker blue to draw the shadow of the water. This is the midtone of the water.
The third layer of color. Use a darker blue to draw the shadow of the water, which is the darker part of the water.
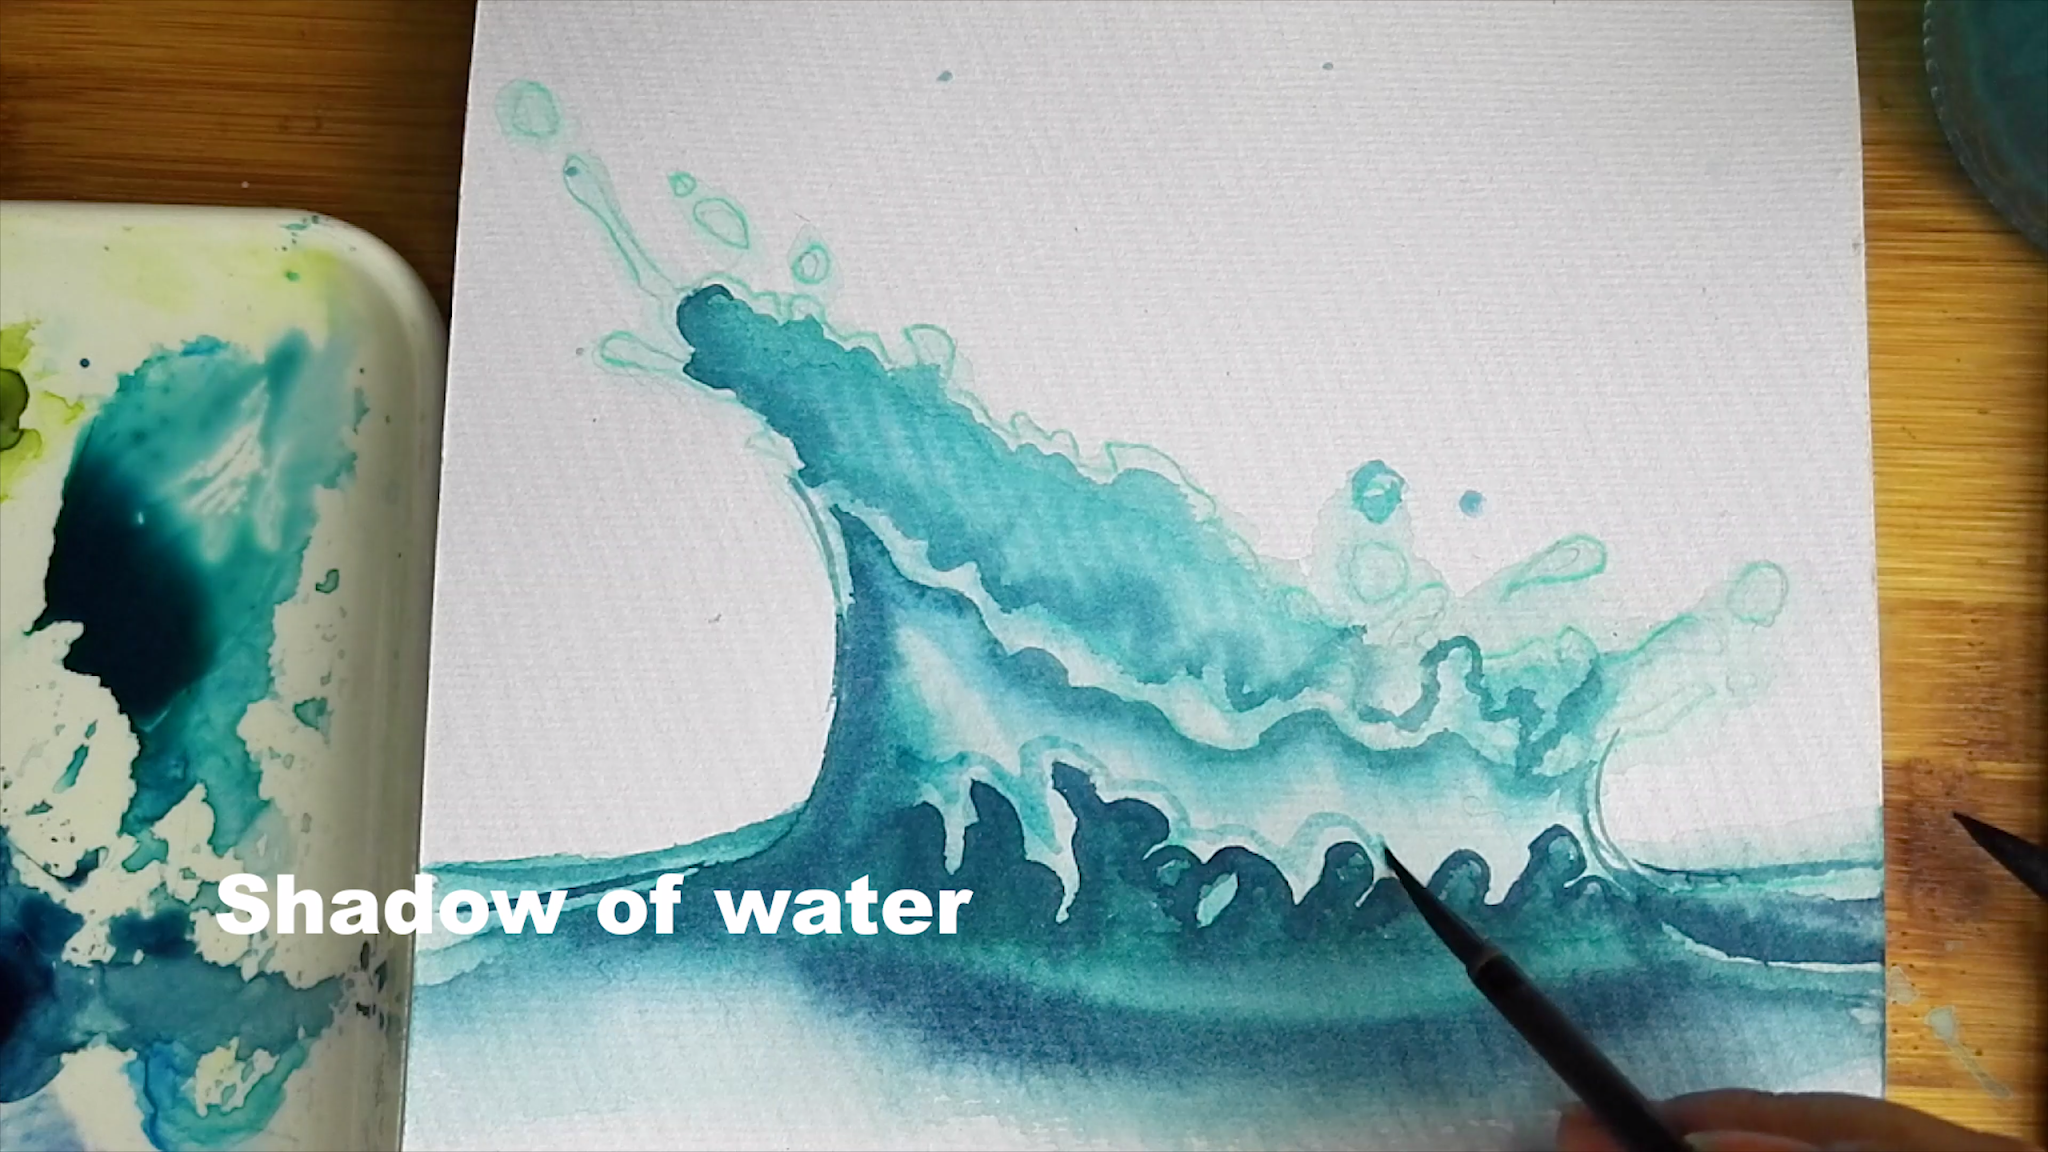
The shadow of the water. Use dark blue to draw the shadow of the water.
The fourth layer, the deepest shadow. Use dark blue to draw the deepest shadow of the splash.
Use colored pencils to draw the outline of the water. Use blue to outline the lighter tones of the splash.
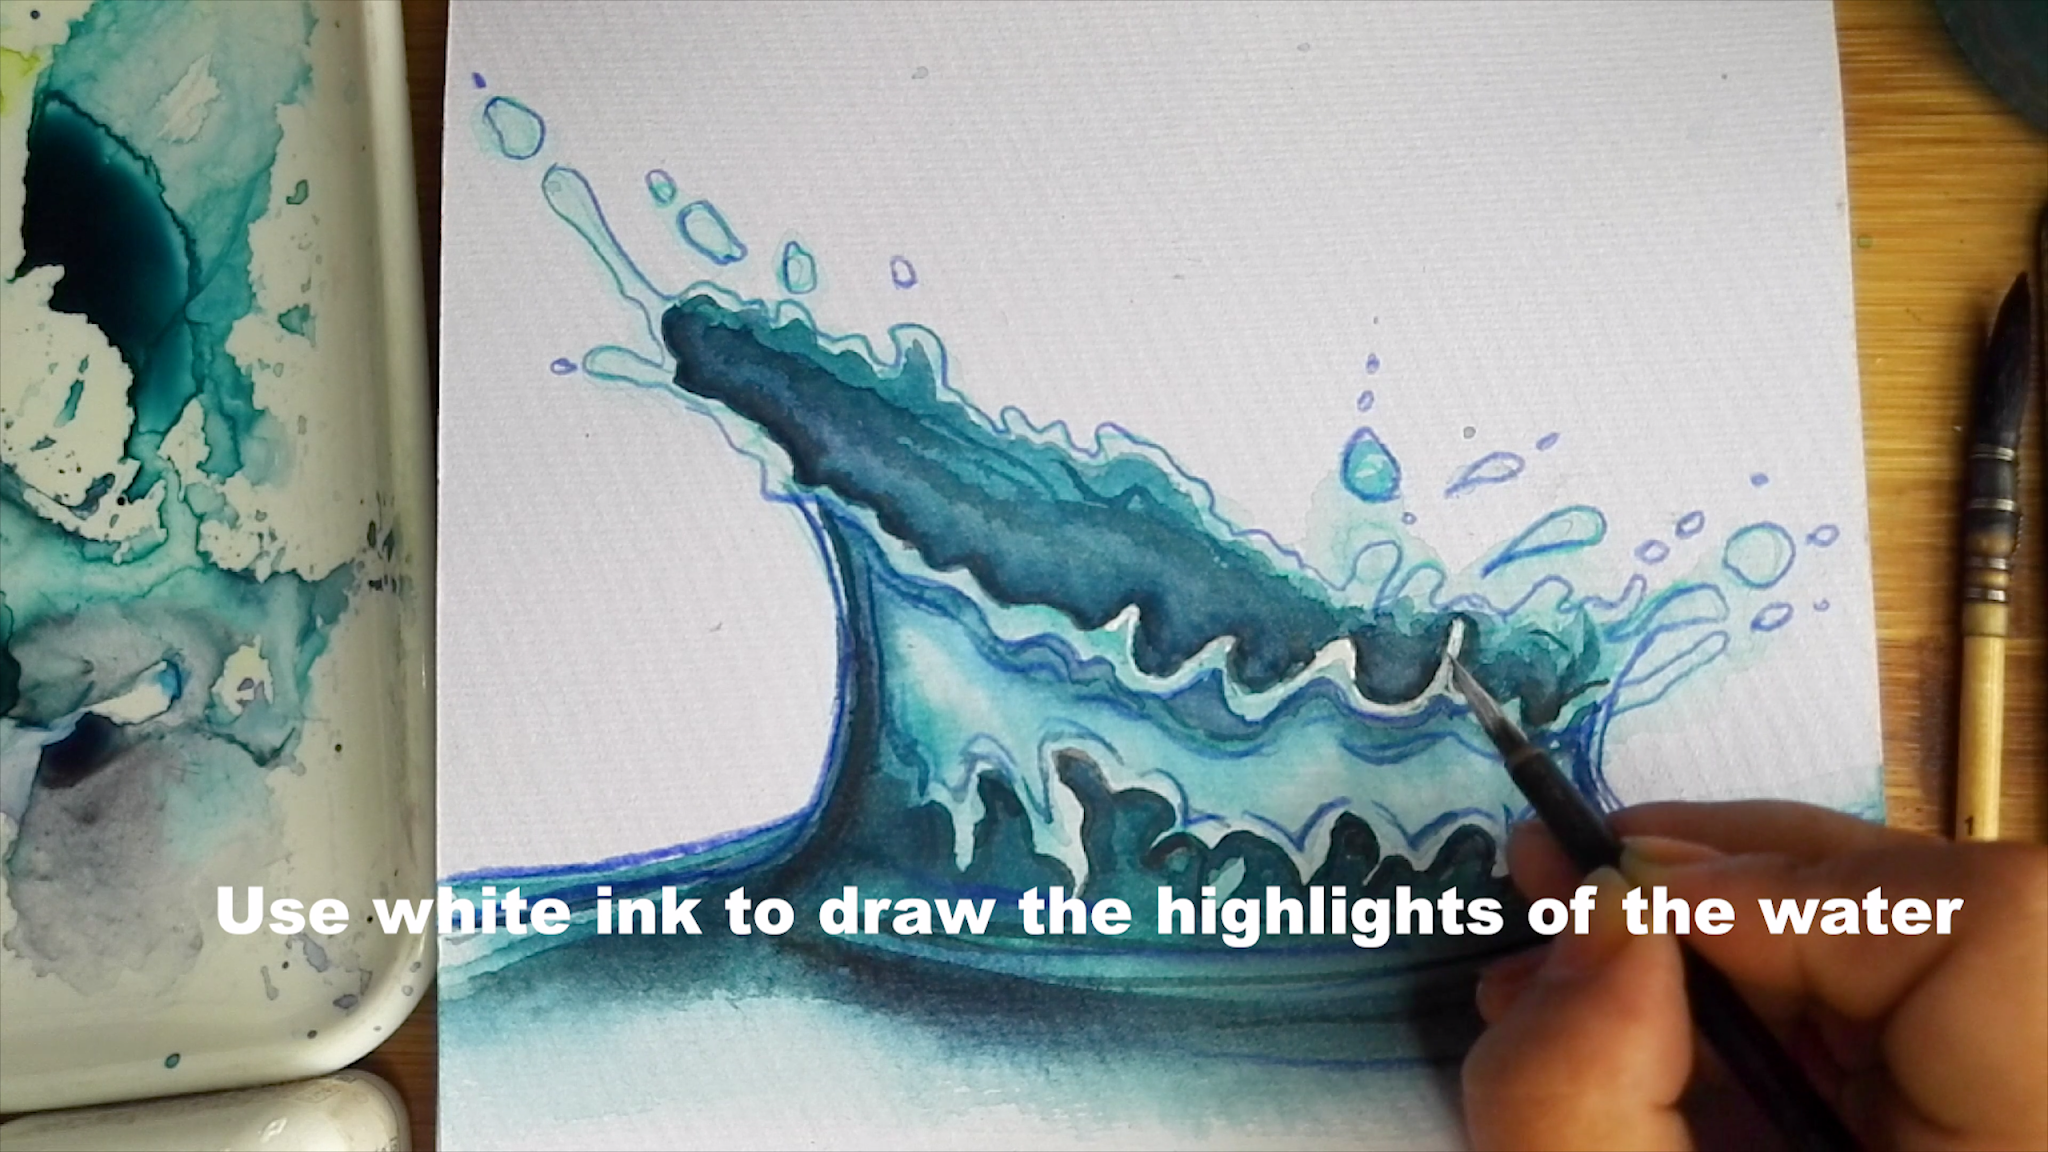
Use white ink to draw the highlights of the water. Use white covering, white gouache, white ink, white acrylic, etc.
Use white ink to draw the highlights of the water. Use white covering, white gouache, white ink, white acrylic, etc.Use white ink to draw the highlights of the water. Use white covering, white gouache, white ink, white acrylic, etc.
The composition of the painting is parsed.
Lines design to make sure of the structural. The tone design shows the distance. The combination of the two parts is a perfect landscape.
The basic principle of object perspective: size represents distance.
The nearest woods. The shape of the tree is the largest.
The middle woods. Smaller than the nearest tree. Tonal aspect.
Because the middle tree is from the perspective of backlighting. So the color is darker than the nearest tree.
The woods in the distance. The shape of the tree is smaller than the tree in the middle distance. The color is deeper than the middle.
The farthest forest. Tree on the blue hill. Because the distance is too far, only the shape of the small vertical bar is seen. The color is the same as the mountain.


![<script async src="https://pagead2.googlesyndication.com/pagead/js/adsbygoogle.js"></script> <!-- 横AD自适应展示 --> <ins class="adsbygoogle" style="display:block" data-ad-client="ca-pub-4937074304731570" data-ad-slot="5882981916" data-ad-format="auto" data-full-width-responsive="true"></ins> <script> (adsbygoogle = window.adsbygoogle || []).push({}); </script> <script async src="https://pagead2.googlesyndication.com/pagead/js/adsbygoogle.js"></script> <!-- 横AD自适应展示 --> <ins class="adsbygoogle" style="display:block" data-ad-client="ca-pub-4937074304731570" data-ad-slot="5882981916" data-ad-format="auto" data-full-width-responsive="true"></ins> <script> (adsbygoogle = window.adsbygoogle || []).push({}); </script>](https://blogger.googleusercontent.com/img/b/R29vZ2xl/AVvXsEhvuvD9obU9HbhPeAJZK_kBOns6UcuLsKiv2EBf0RTVk-QSfoc4muMOkzTWo7H5fd69CV05ygxM0OUfPR8BxUj3V7gEW9ixLAvuRU86nhR6oMb9sFWZV407XRlHYinDIA6CZV_BvHPM7_U/d/Water.jpg)


0 Comments