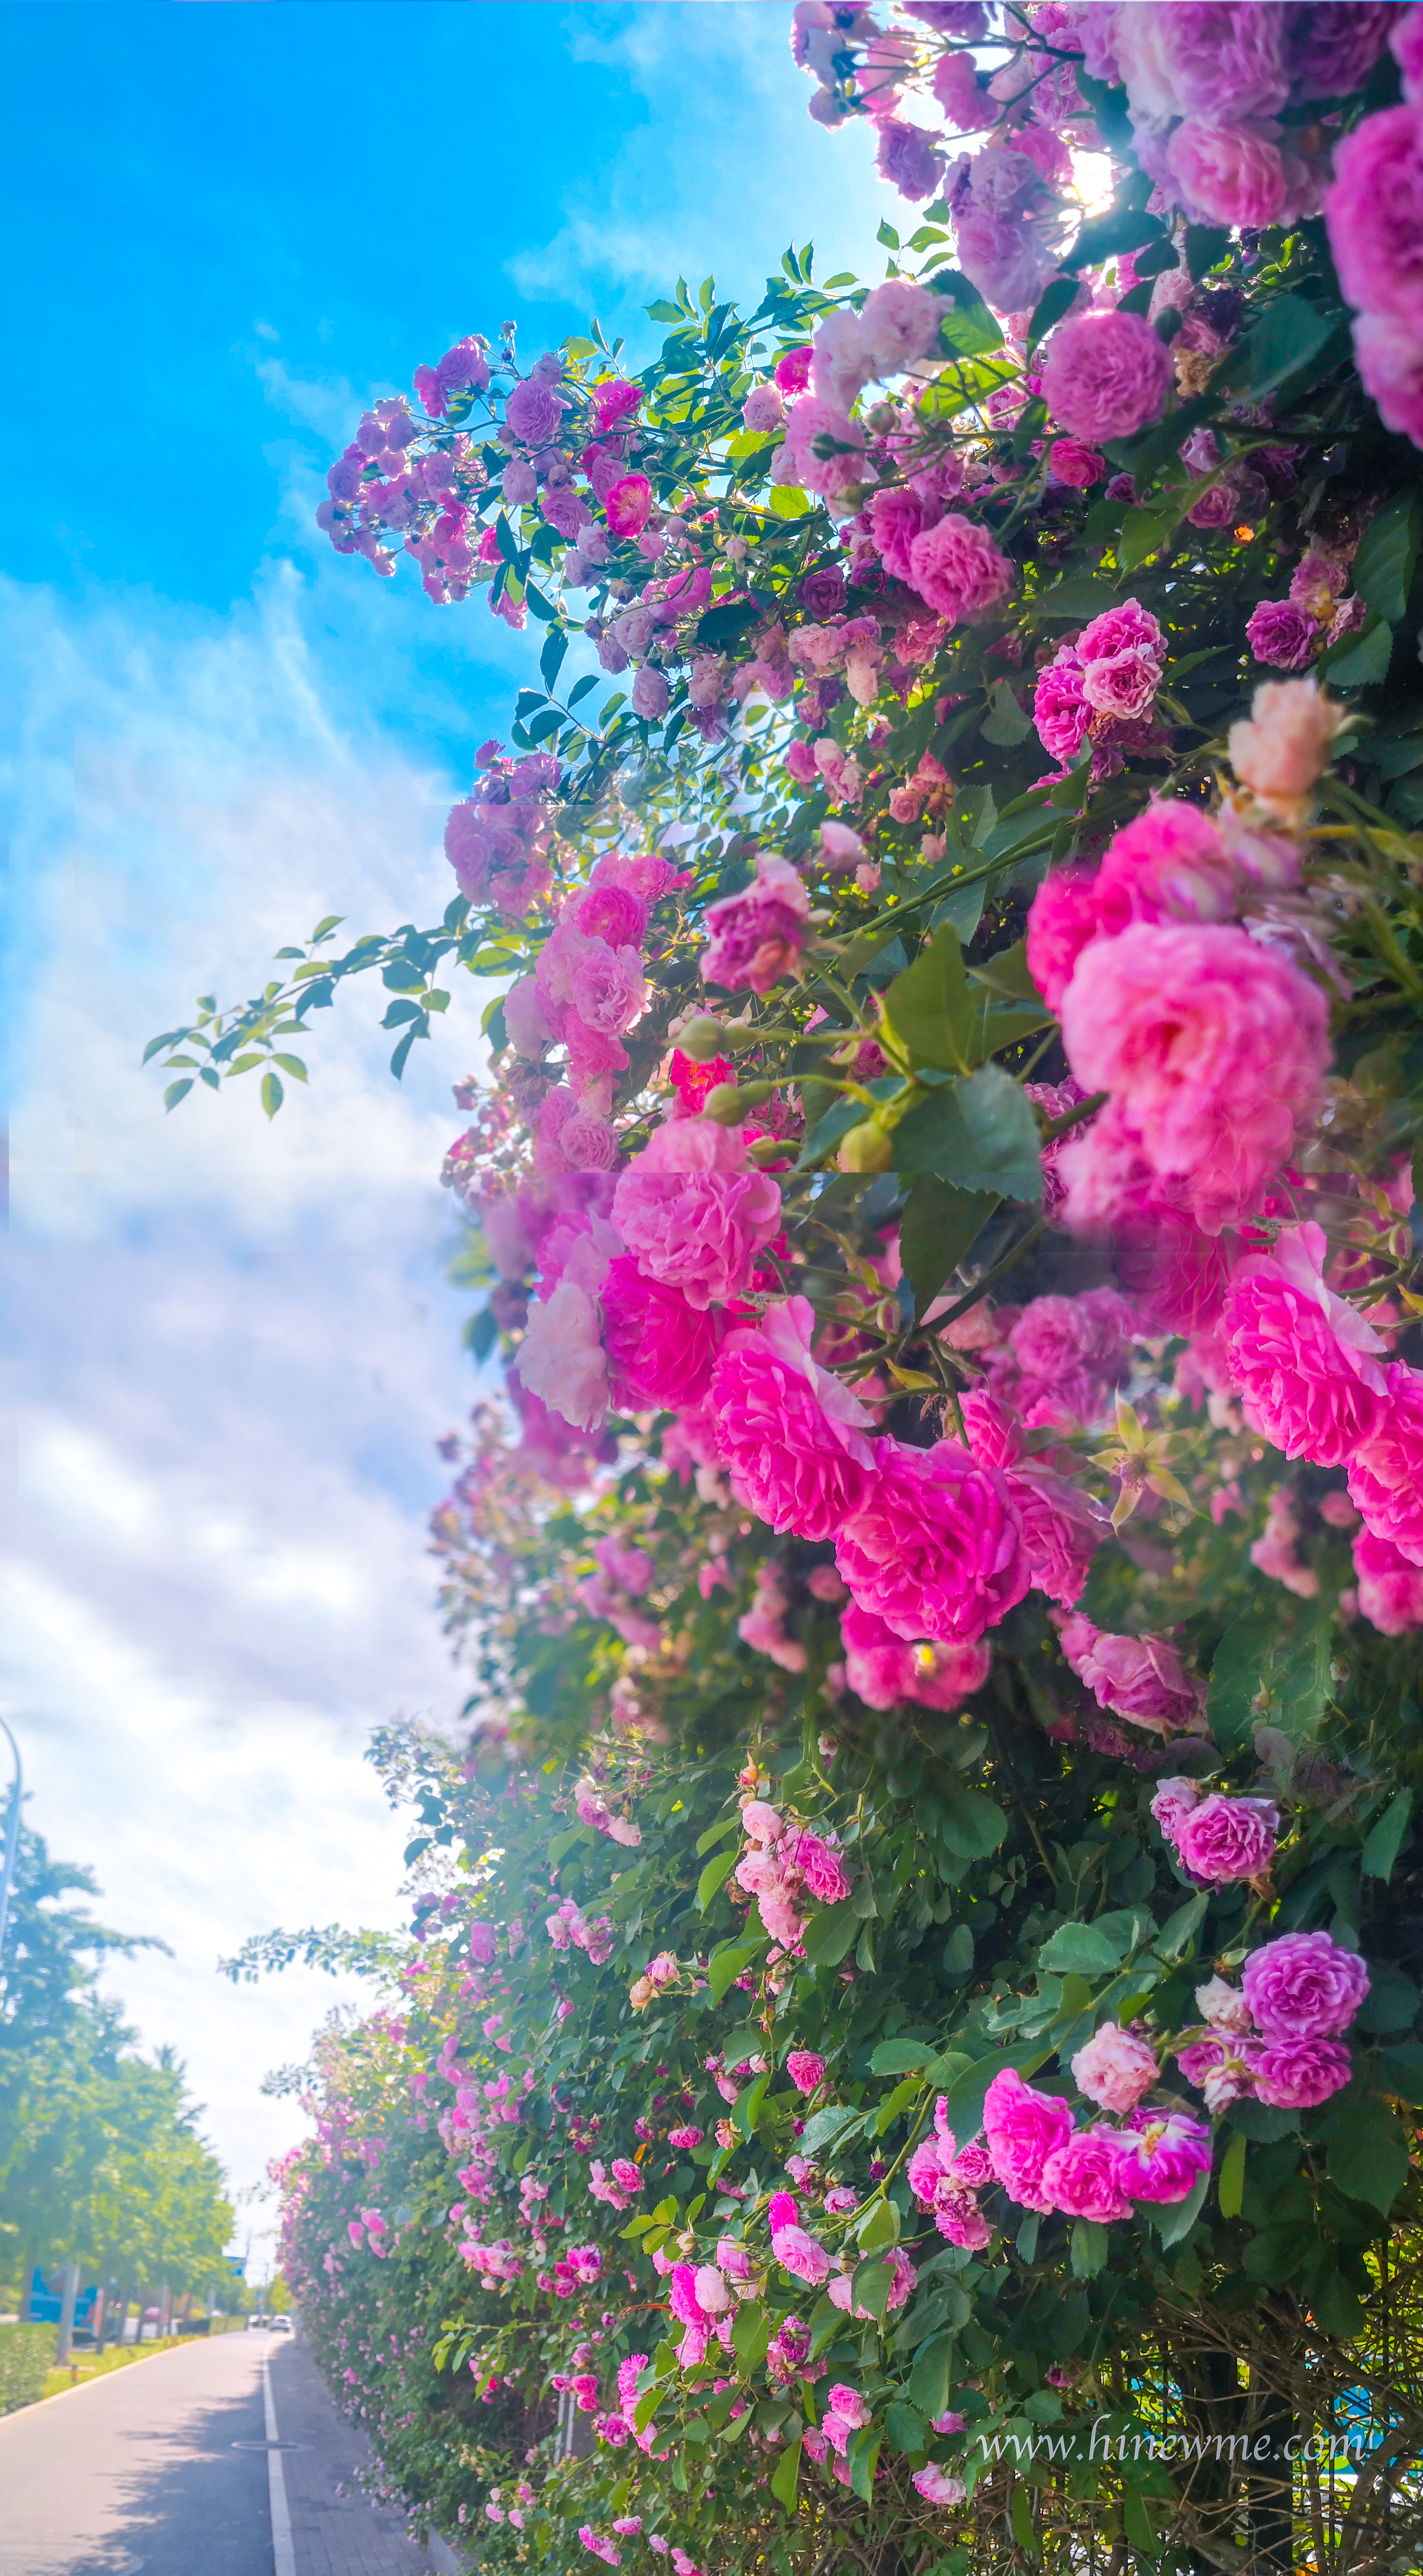
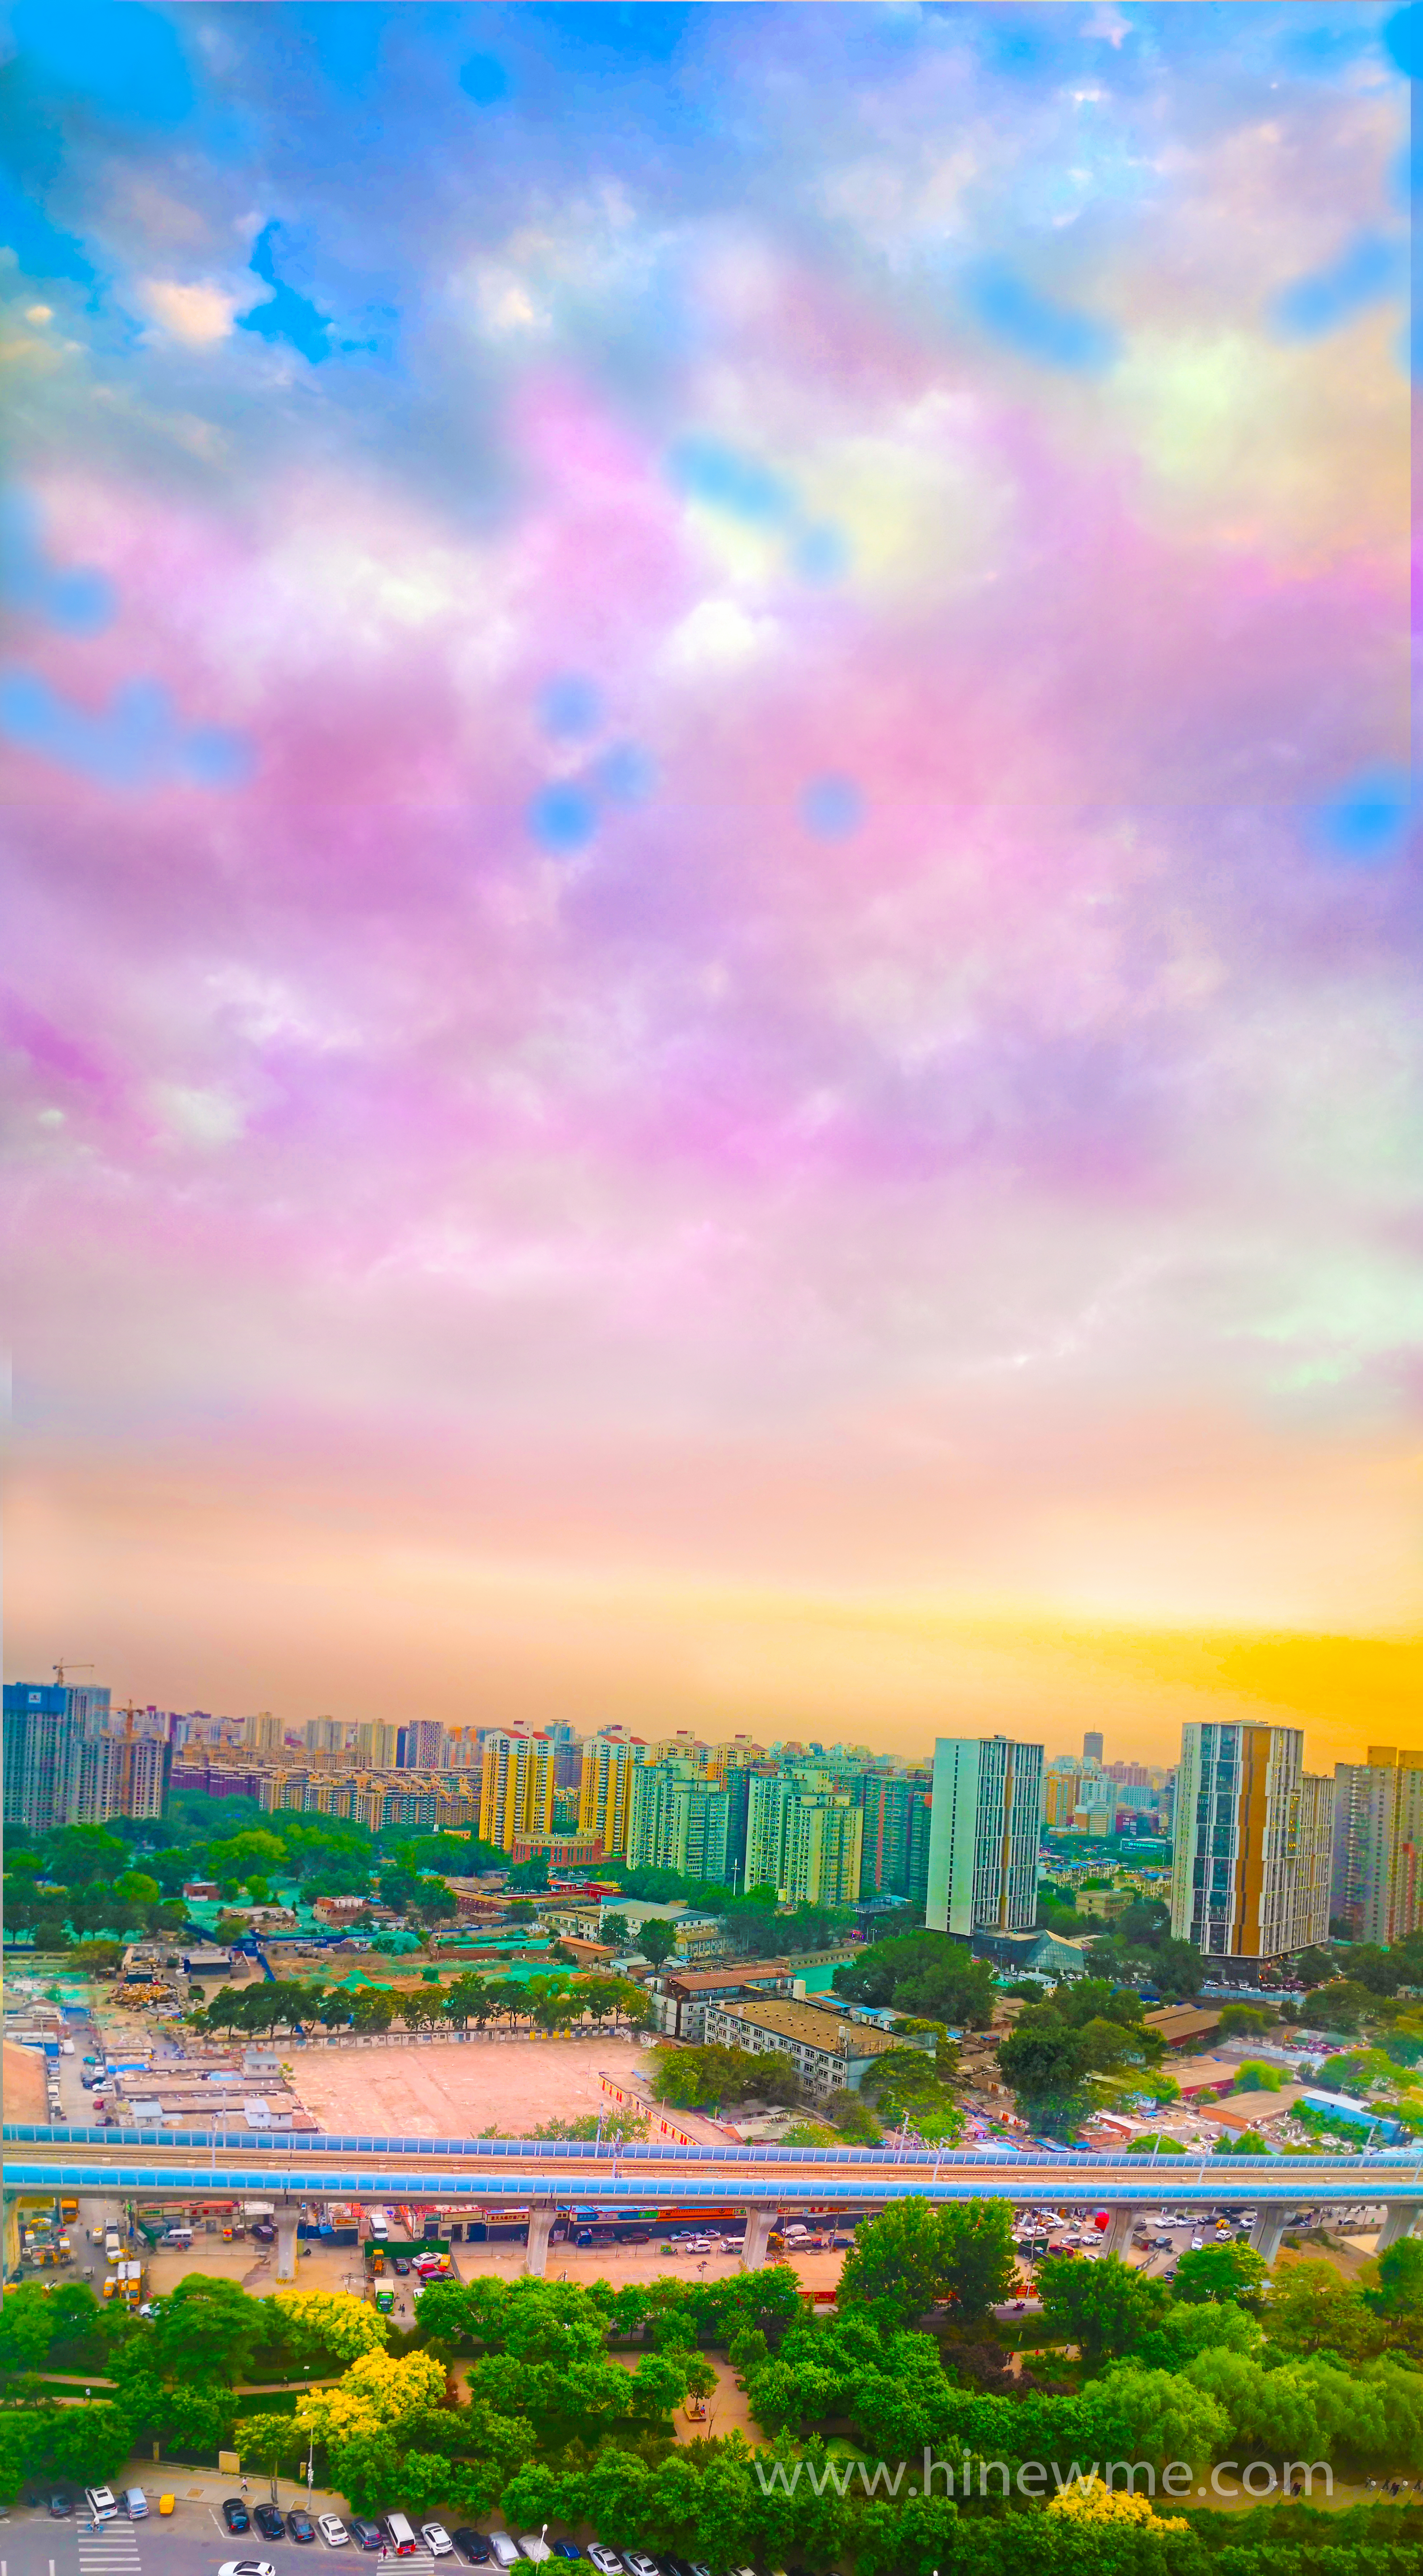
Simple post-production of photographic pictures. 5 tips for photoshop editing. Check out our online class skills
After we take photographs, we will always find that the beauty seen by the eyes is very different from what the camera sees. Don’t worry, leave the rest to post-production, it can make your photos very beautiful immediately, and truly record the beauty you see.
Photography is a necessary skill for expressing beauty. Today's online class is photography skills-hue. In all photos, you cannot leave the hue. Different shades of the same landscape will express different feelings.
The ultimate purpose of the post-processing of photographic works is to optimize or change the color tone of the photo. The richer the color tone, the greater the space for contrast and color processing.
Contrast. When we take a picture, there will be three choices of tones. First, with dark tones, you will overexpose the highlights. second, With the brightest part as the main part, a lot of color information in the darkest part will be lost. Third, the mid-tone part is dominated. Then you lose the brightest and darkest places. Photos have poor visual effects.
 |
| Simple post-production of photographic pictures. 5 tips for photoshop editing |
Software for post-processing of photographic pictures is better at processing the details of dark parts. Therefore, if necessary, keep the dark part and discard the exposure of the highlighted part.
Dark adjustments save a lot of color information and contrast. It can show more depth of colors and details of pictures.
 |
| Simple post-production of photographic pictures. 5 tips for photoshop editing |
1. Tune colors. Function: Make colors more vivid and bright. Photoshop tools used: Auto Saturation & Adjust Saturation. Compare before and after retouching. Before and after retouching.
2. Adjust the contrast. Function: Make photos contrast better and more obvious. Photoshop tools used: automatic contrast & contrast adjustment & curves. Compare before and after retouching.
 |
| Simple post-production of photographic pictures. 5 tips for photoshop editing |
3. Adjust the brightness. Function: Make photos light brighter. Use Photoshop tools: Auto Contrast & Brightness Contrast & Curve. Comparison before and after retouching. The picture became brighter overall after retouching.
4, texture adjustment. Function: Make the edges of the photo content clearer. Use Photoshop tools: Sharpen under the filter. Comparison before and after retouching: the theme of the photo, the lines become clearer and more textured
 |
| Simple post-production of photographic pictures. 5 tips for photoshop editing |
5, focus effect. Function: Make the subject more clear, the background more blurred, and take professional photography level. Function: Use photoshop tools. Add a black and white gradient to Kose Blur & Mask.
Comparison before and after retouching. After retouching, the subject is clearer and the background is more blurred. Does it feel like a professional photographer


0 Comments