DIY How to make Christmas pine cone greeting card step by step
Christmas is coming. I believe everyone is preparing. Winter pine trees and pine cones give us the feeling of Christmas. Today brings you a set of online teaching, Christmas greeting cards. If you make a greeting card for family, friends, and personally, it will be very warm and loving. It's easy to make, let's make it together.
Prepare materials. 1. Colored paper. Red, orange, yellow. Light green, dark green 2 A piece of A4 white card paper. 3. Scissors. 4. Black marker. 5. One treasure + 4 red glass beads.
step 1. Fold the a4 jam in half. Draw a circle in the middle of the cover part and cut it out.
Step 2. Cut red, orange, and yellow-colored paper into 15 drops.
Step 4. Light green, dark green, colored paper. Cut out the shape of the pine leaves.
Step 5. According to the picture, paste the shape of the pine cone, and paste the shape of the pine cone.
Step 6. Using a black pen, draw the shadow of the pine cone.
Step 7. Follow the picture to paste the shape of the pine branch.
Step 8. With green watercolor. Describe the details of turpentine.
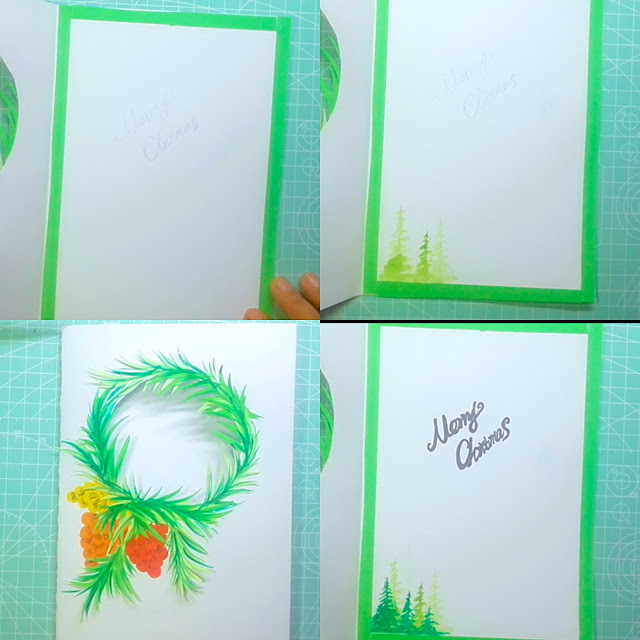
Step 9. Using green cardboard, cut out 4 long strips. Posted on page 2 of the card.
Step 10. In the lower right corner of page 2, draw the pine tree with green watercolor.
Step 11. In the circle, write Merry Christmas with a black marker.


0 Comments