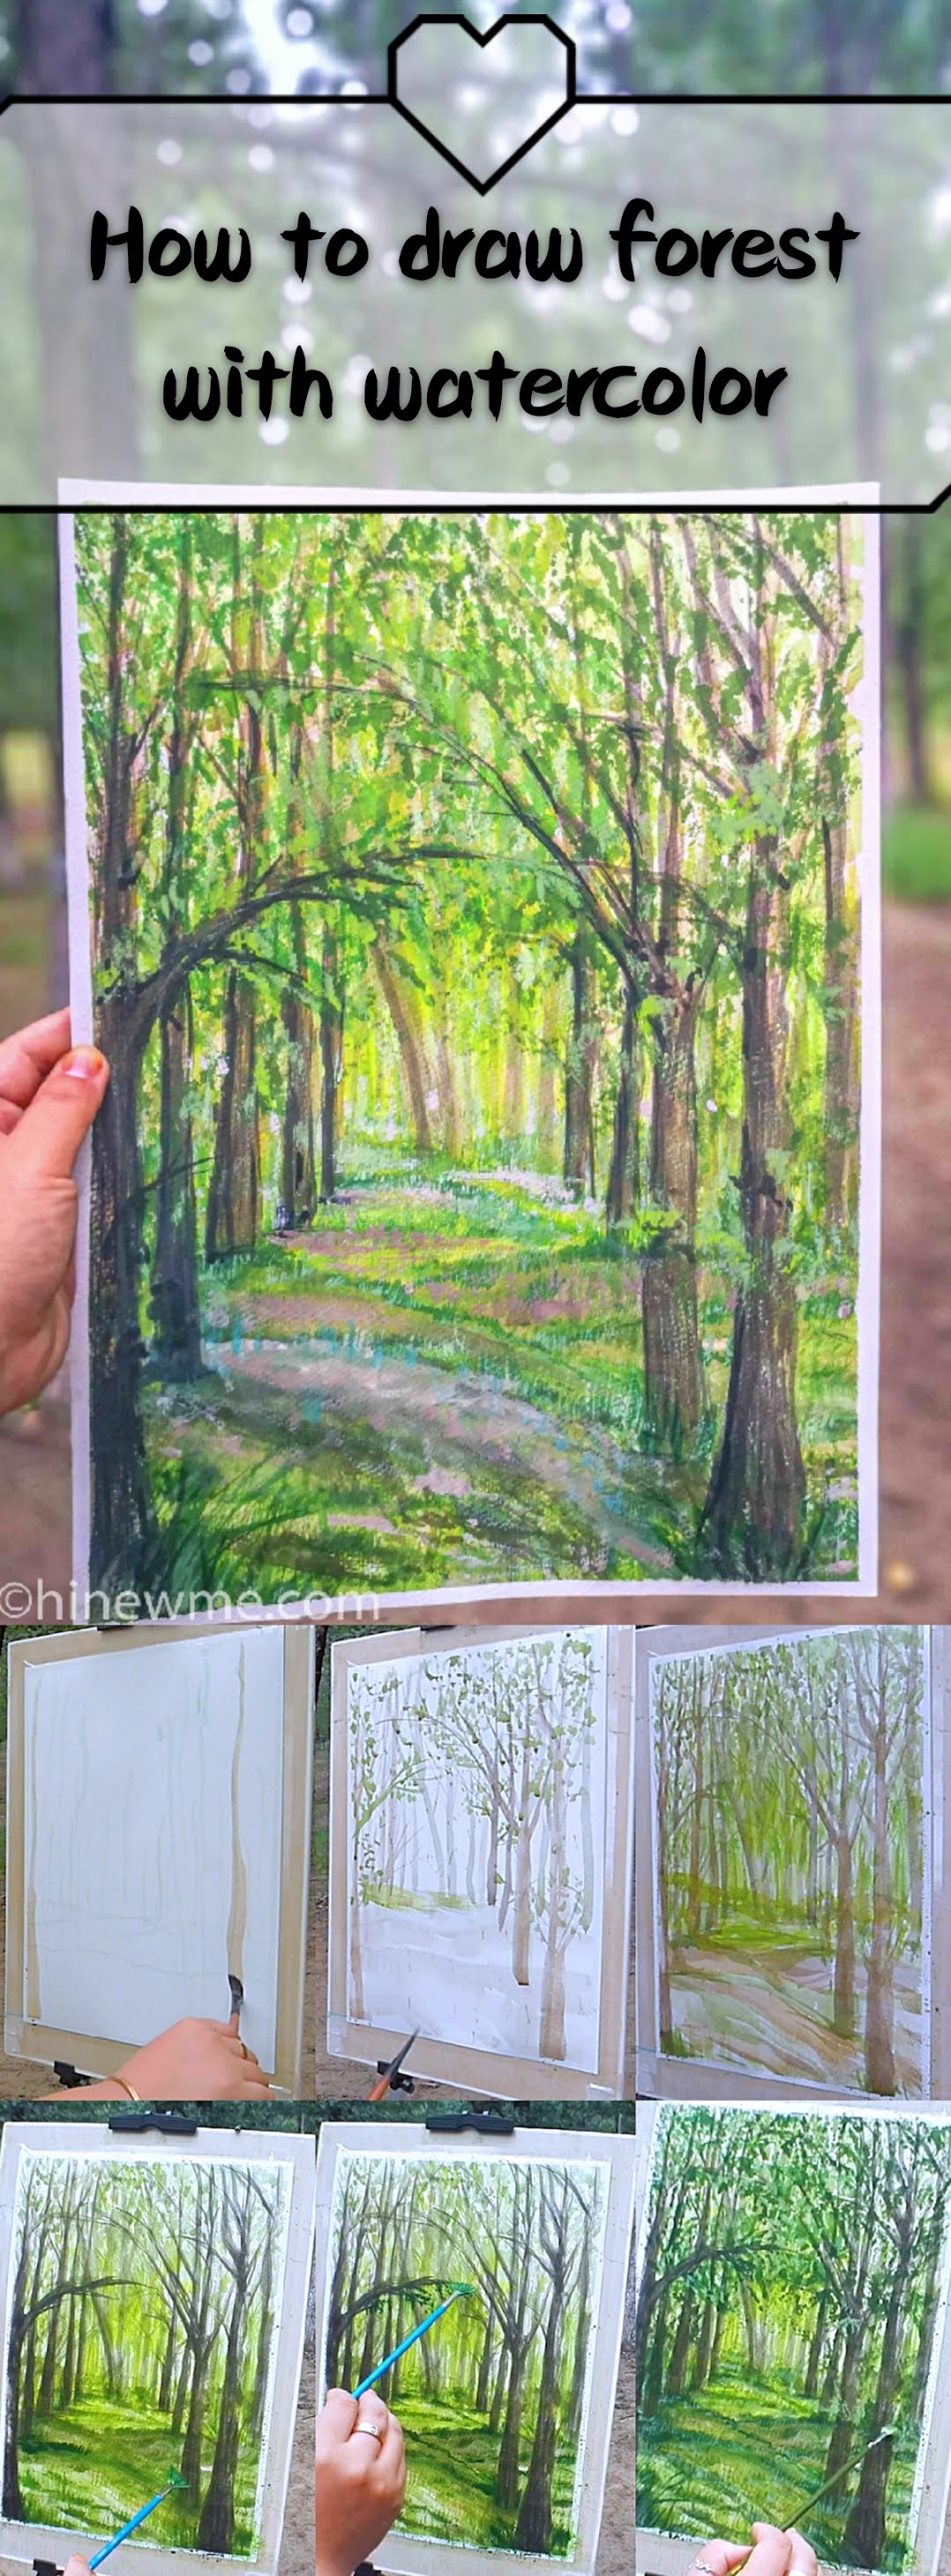
How to draw watercolor forest step by step easy tutorial
Watercolor painting is used water painting. So we have to continue to exercise control over the water. So that we can draw a clear sense of the Painting.
Fresh forest painting; study, you can read books to study, you can use the computer to study; relax, in nature or watching movies is a good choice. Let the woman's beauty shine from the inside out.
The artist is practicing his ability to observe. So we have to learn to be the more careful observation of things around us. Find details of the object. Then extract the part. This is your artistic style.
There are 3 techniques for watercolor painting
1Transparent effect.
Apply a layer of pigment first. Wait until it is completely dry. Apply a second layer of pigment.
Because the characteristics of watercolor are transparent. So this technique can draw a transparent and light feeling.
How to draw watercolor forest step by step easy tutorial video
2.Dry painting.
Add a small amount of water with the pigment. Then use a dry brush to rub the pigment. The effect of drawing is like this. It can represent a rough texture. It can also be used to show the sparkling of the sea surface.
Wet painting color gradient. First, apply a layer of water to the paper. Then draw a blue Line, Draw the middle yellow when wet. Finally, draw red when wet. This method has a very soft color gradient.
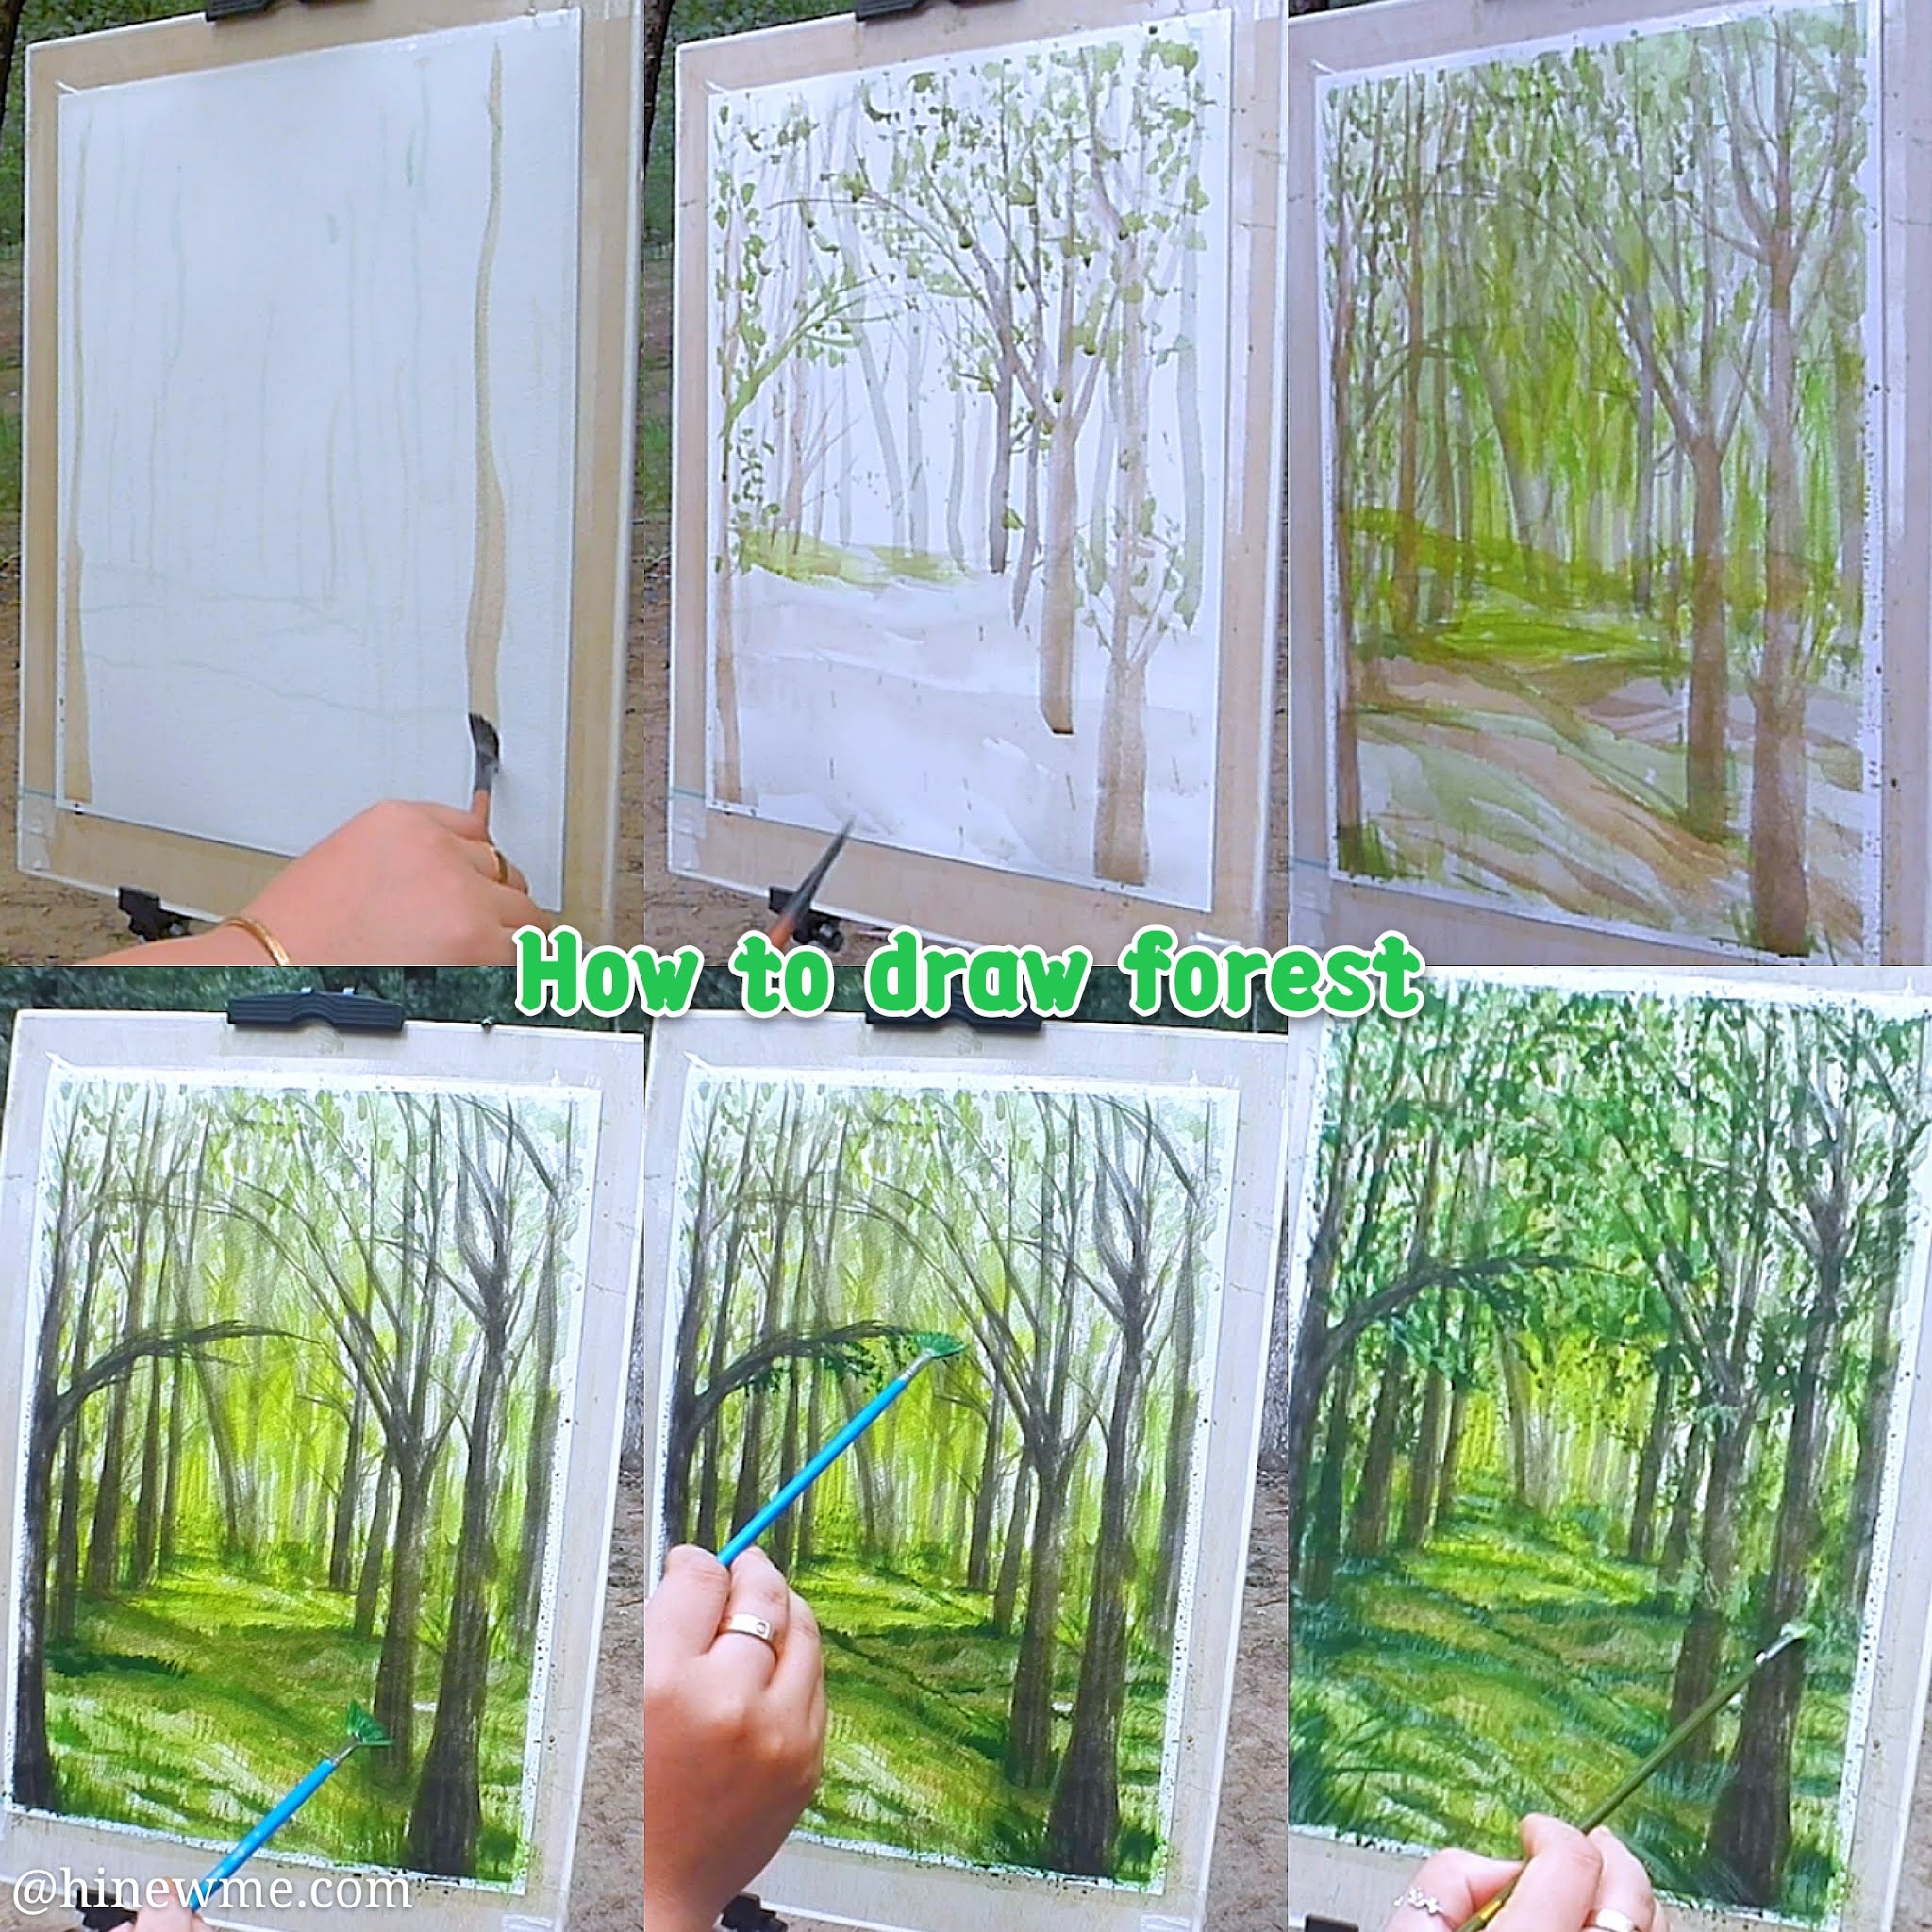
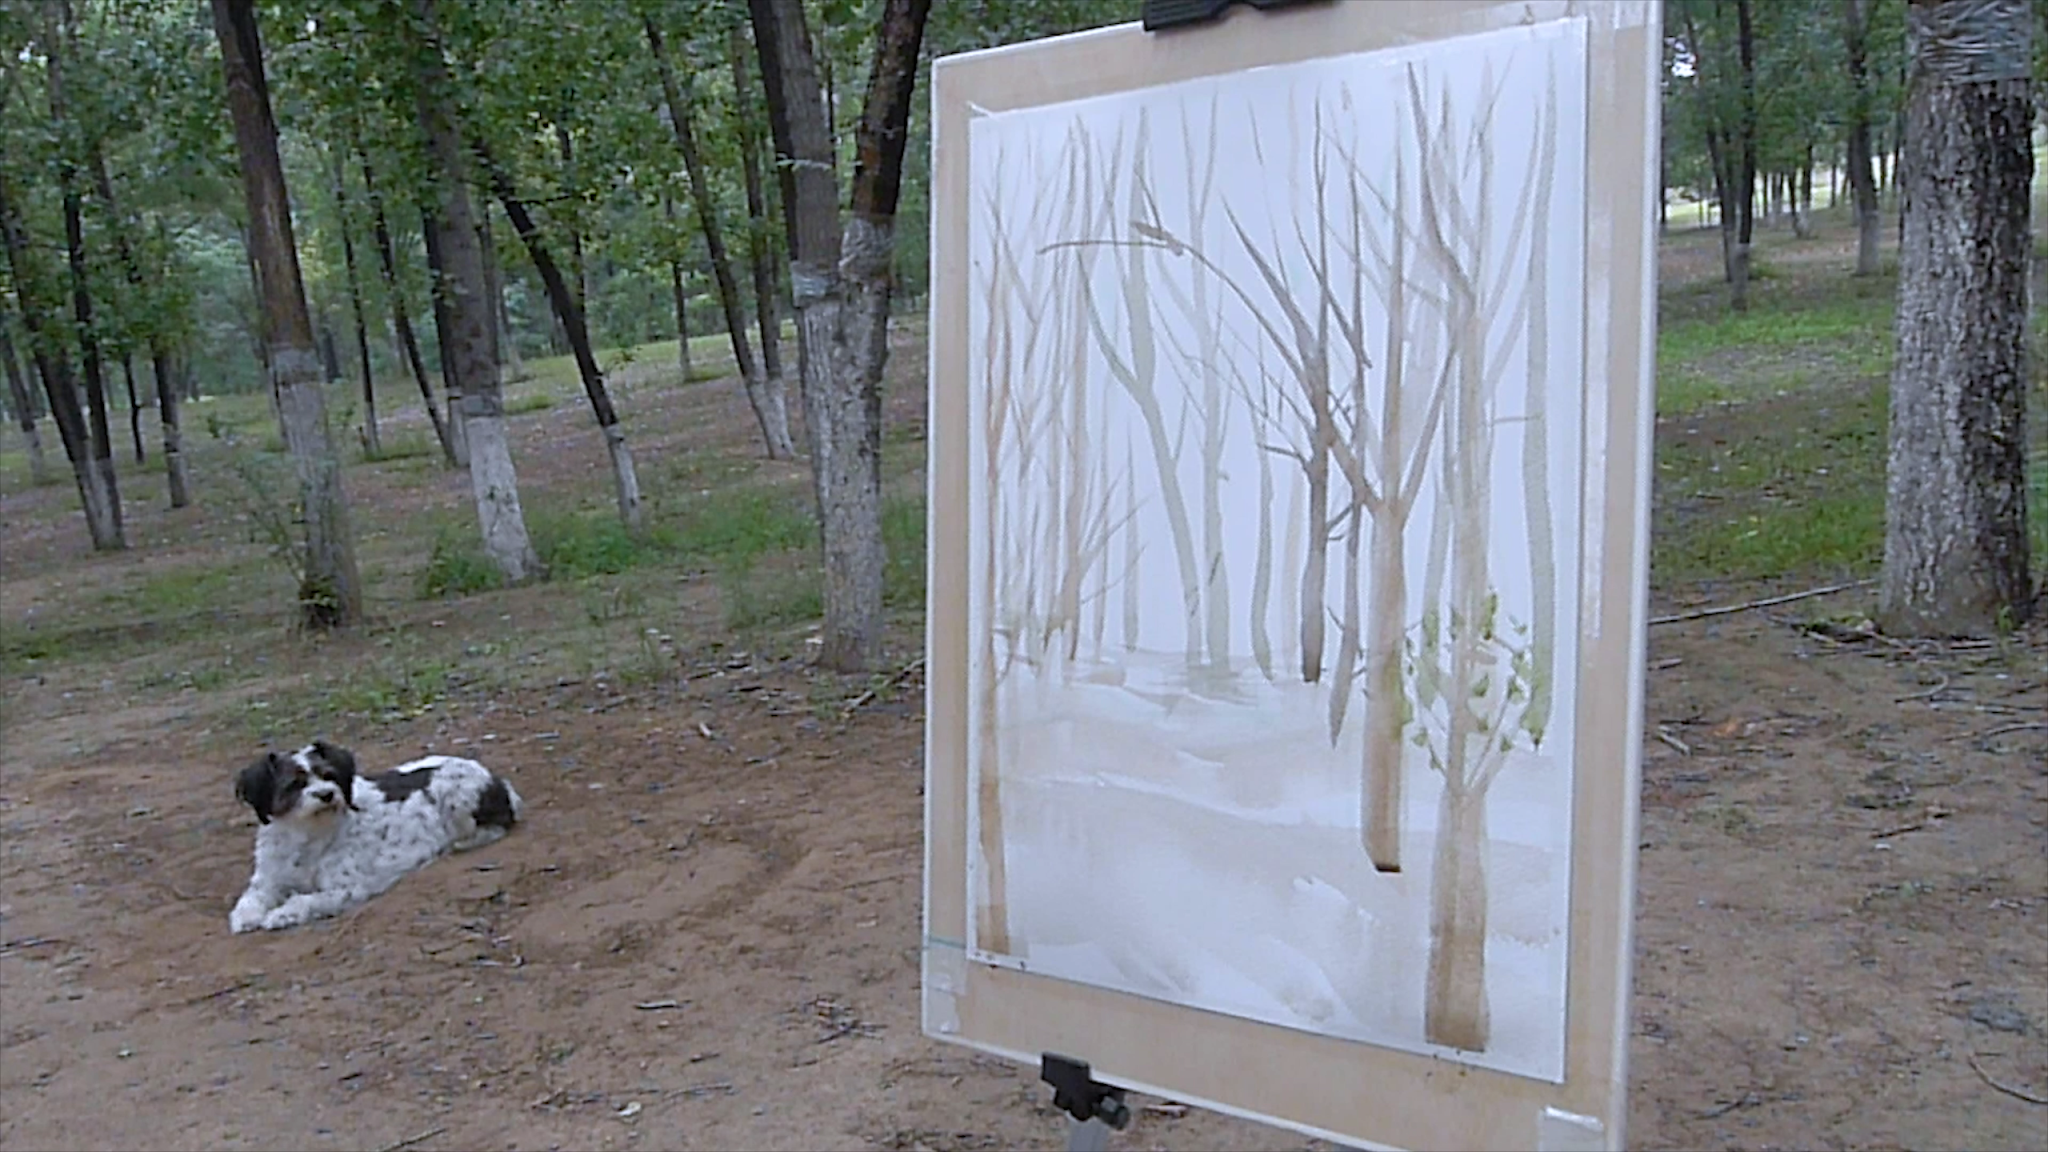
Part 1. First, use a light color to draw drafts. Determine the shape, so this step is very important. I show the shape of the apple and the painting on the painting.
First, use a light color to draw drafts. Determine the shape, so this step is very important. I show the shape of the apple and the painting on the painting.
Part 2. Notice. Don't draw black lines before color. Because in the future the painting process will be in contact with a lot of water. Draw dark lines, in the beginning, it is easy to iron staining.
Draw the basic color of the girl's lines.
First use red with more water, it is the color of the head foundation.
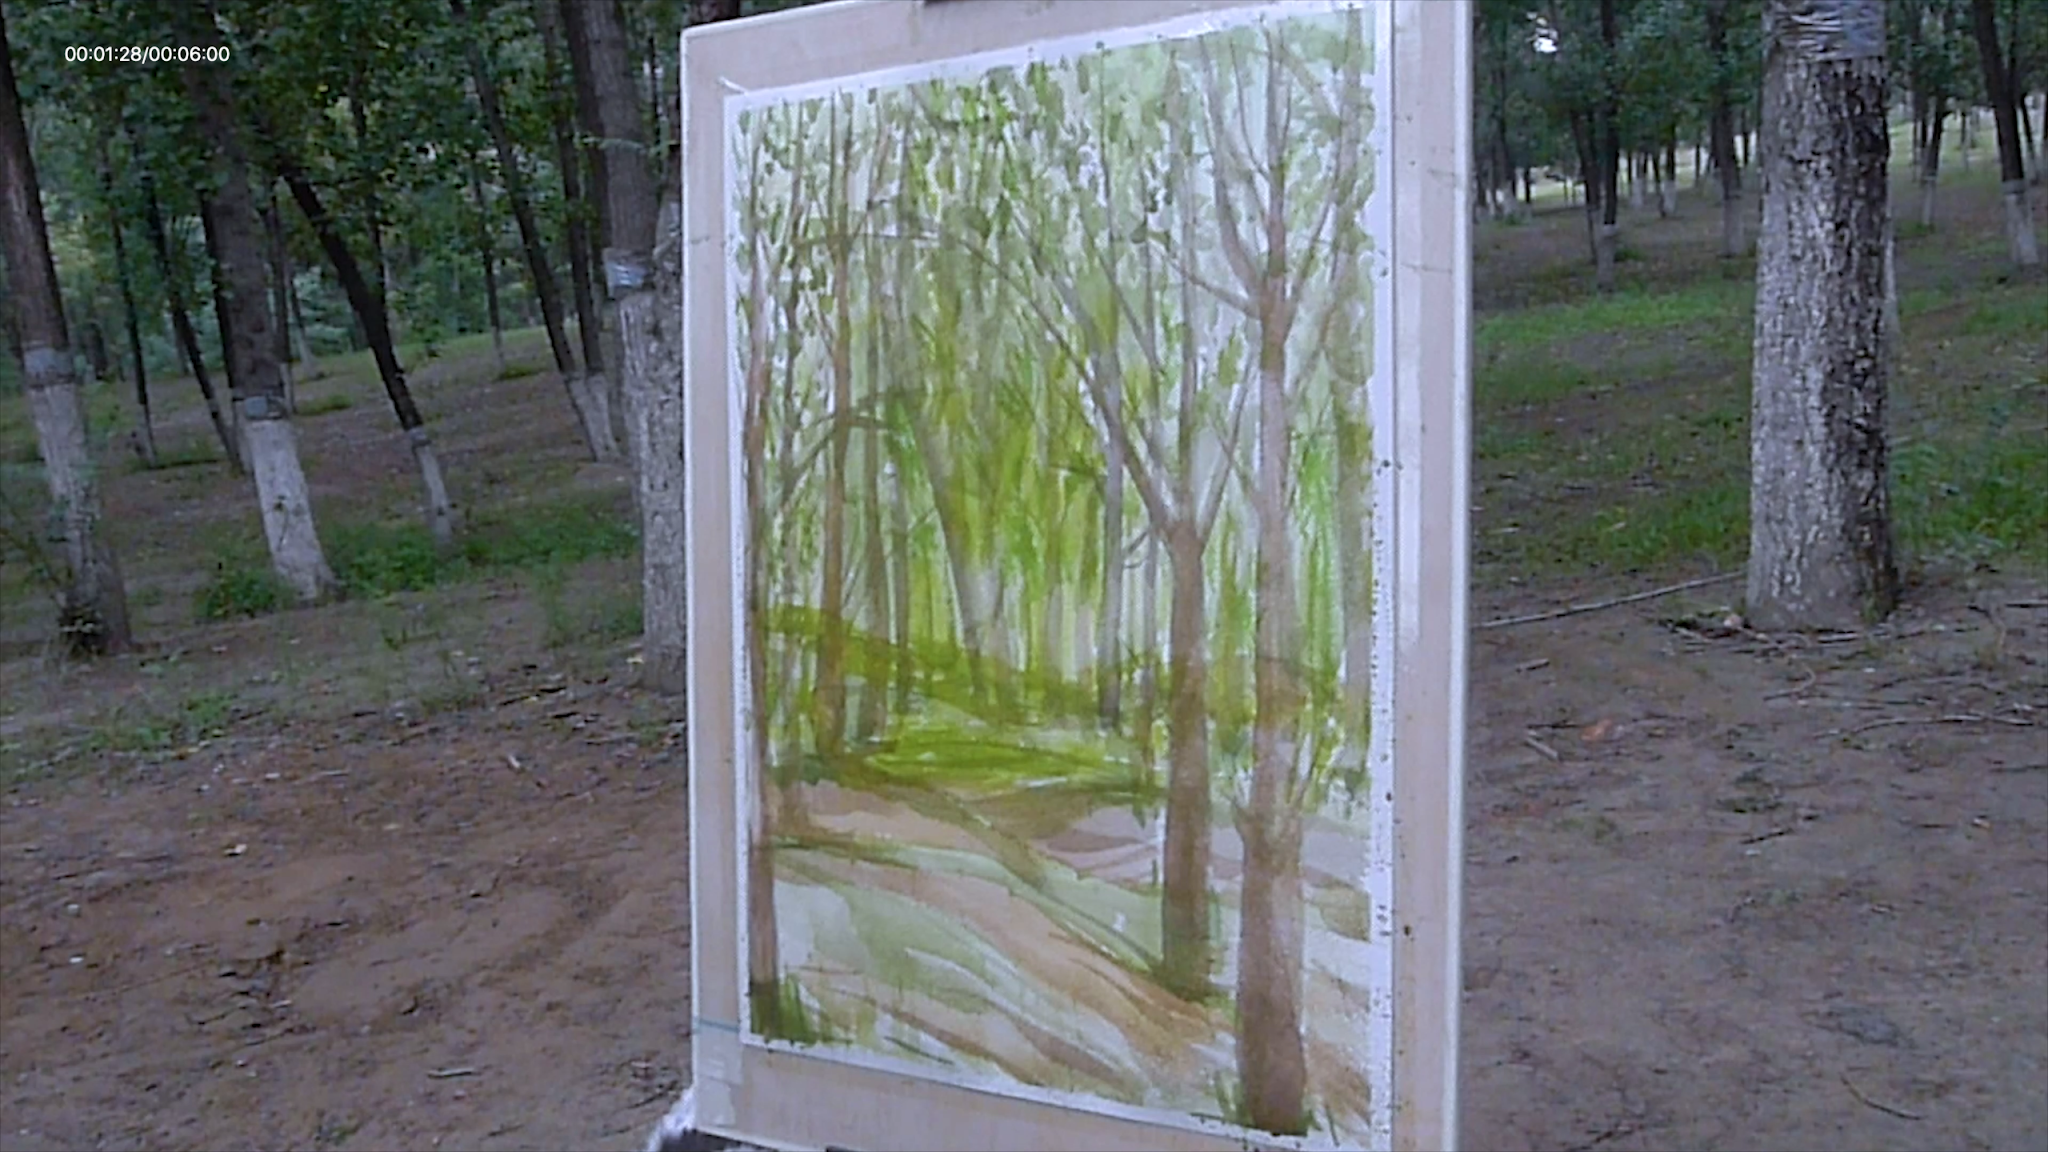
Part 3. Painting the colorful in the forest. To finish the color of the foundation. This part is the base of the Watercolor Painting.
Painting color should be in the water.
Make painting color nature.
Part 4.
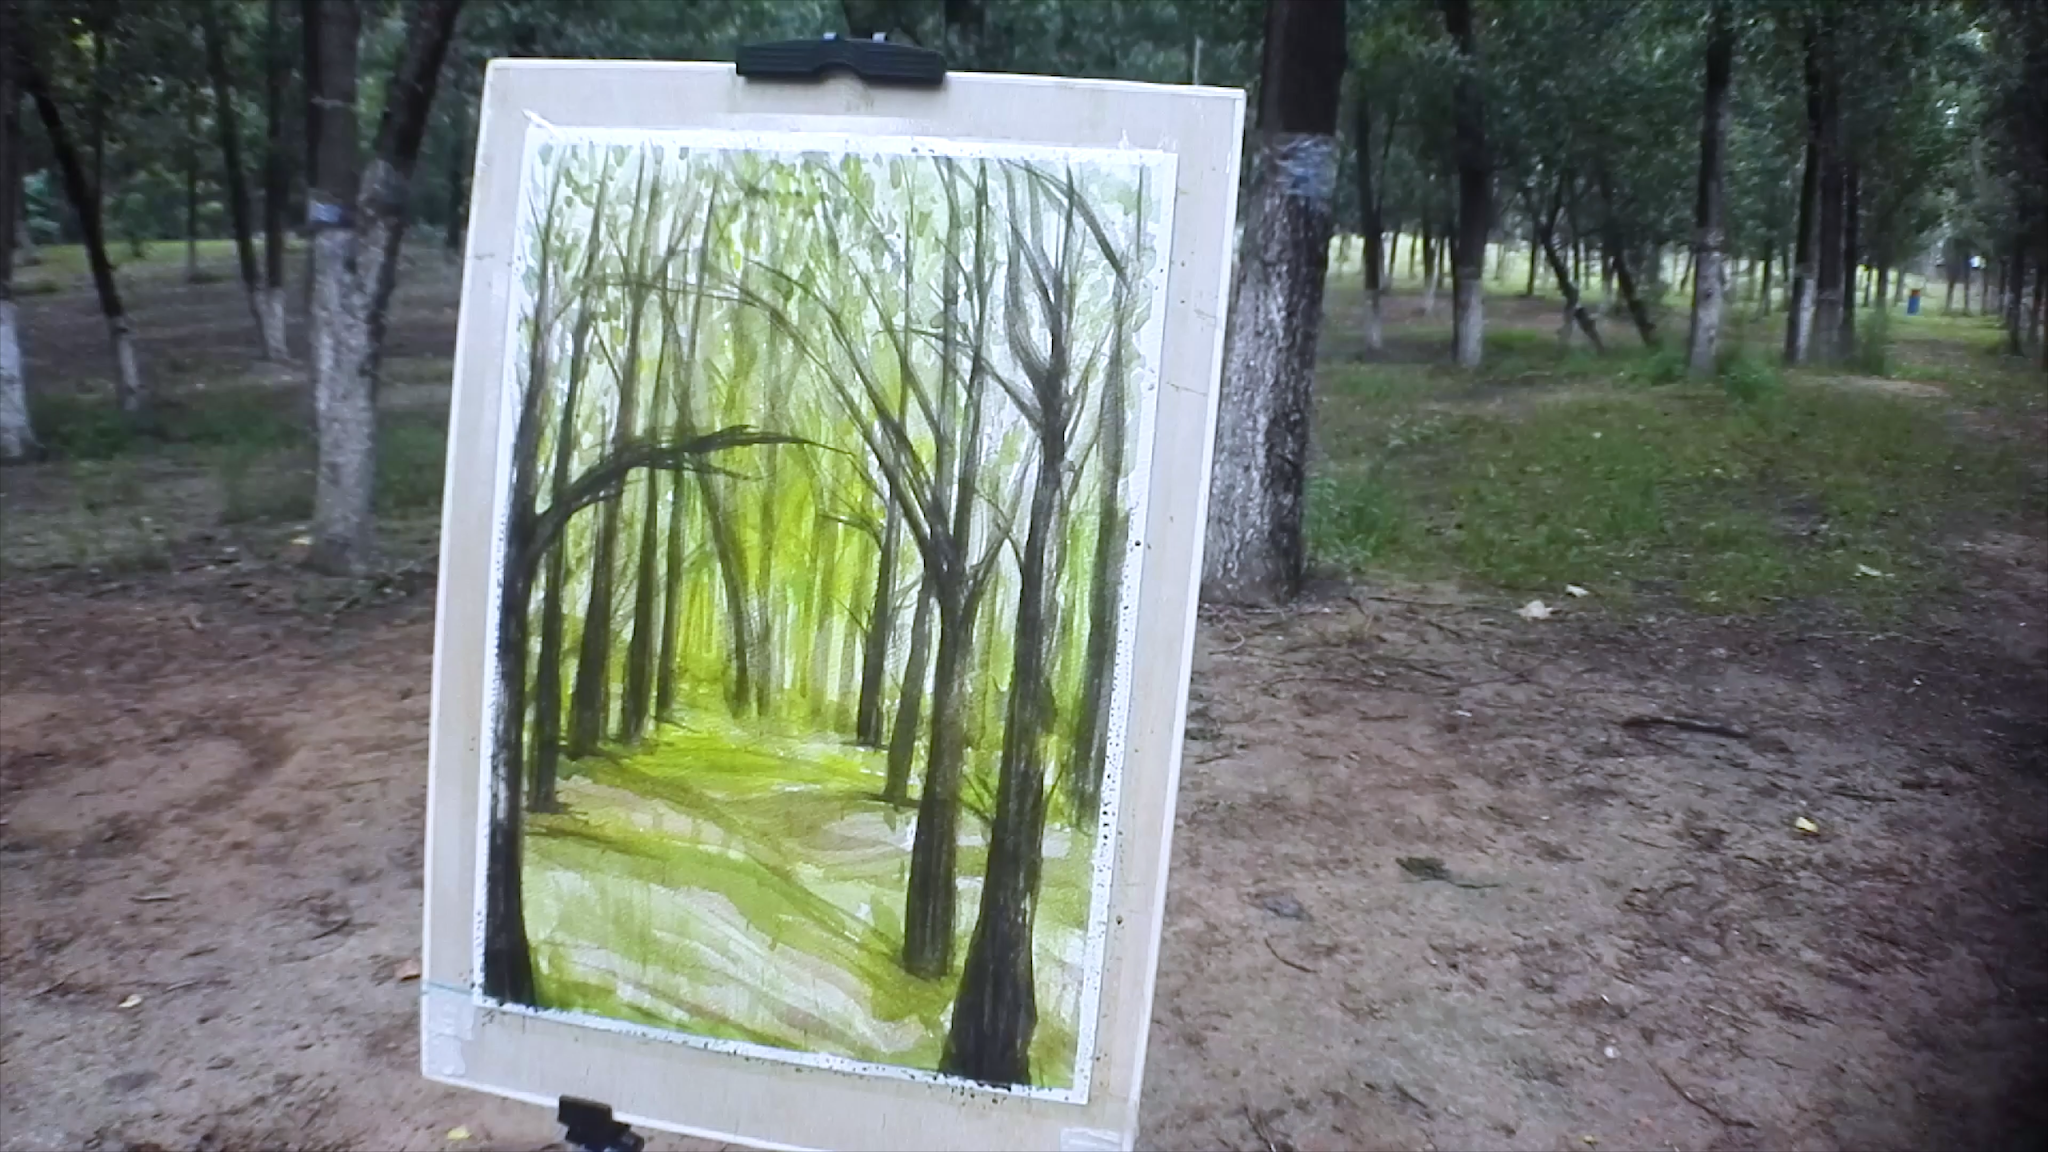
a. Green, add more water. Draw the far trees.
b. Green, add less Water than step a. Draw the middle trees.
c. Green, add less Water than step b. Draw the near trees.
Part 5.
Draw the trunk part. Dark brown draws the shadow of the tree trunk
Part 6.
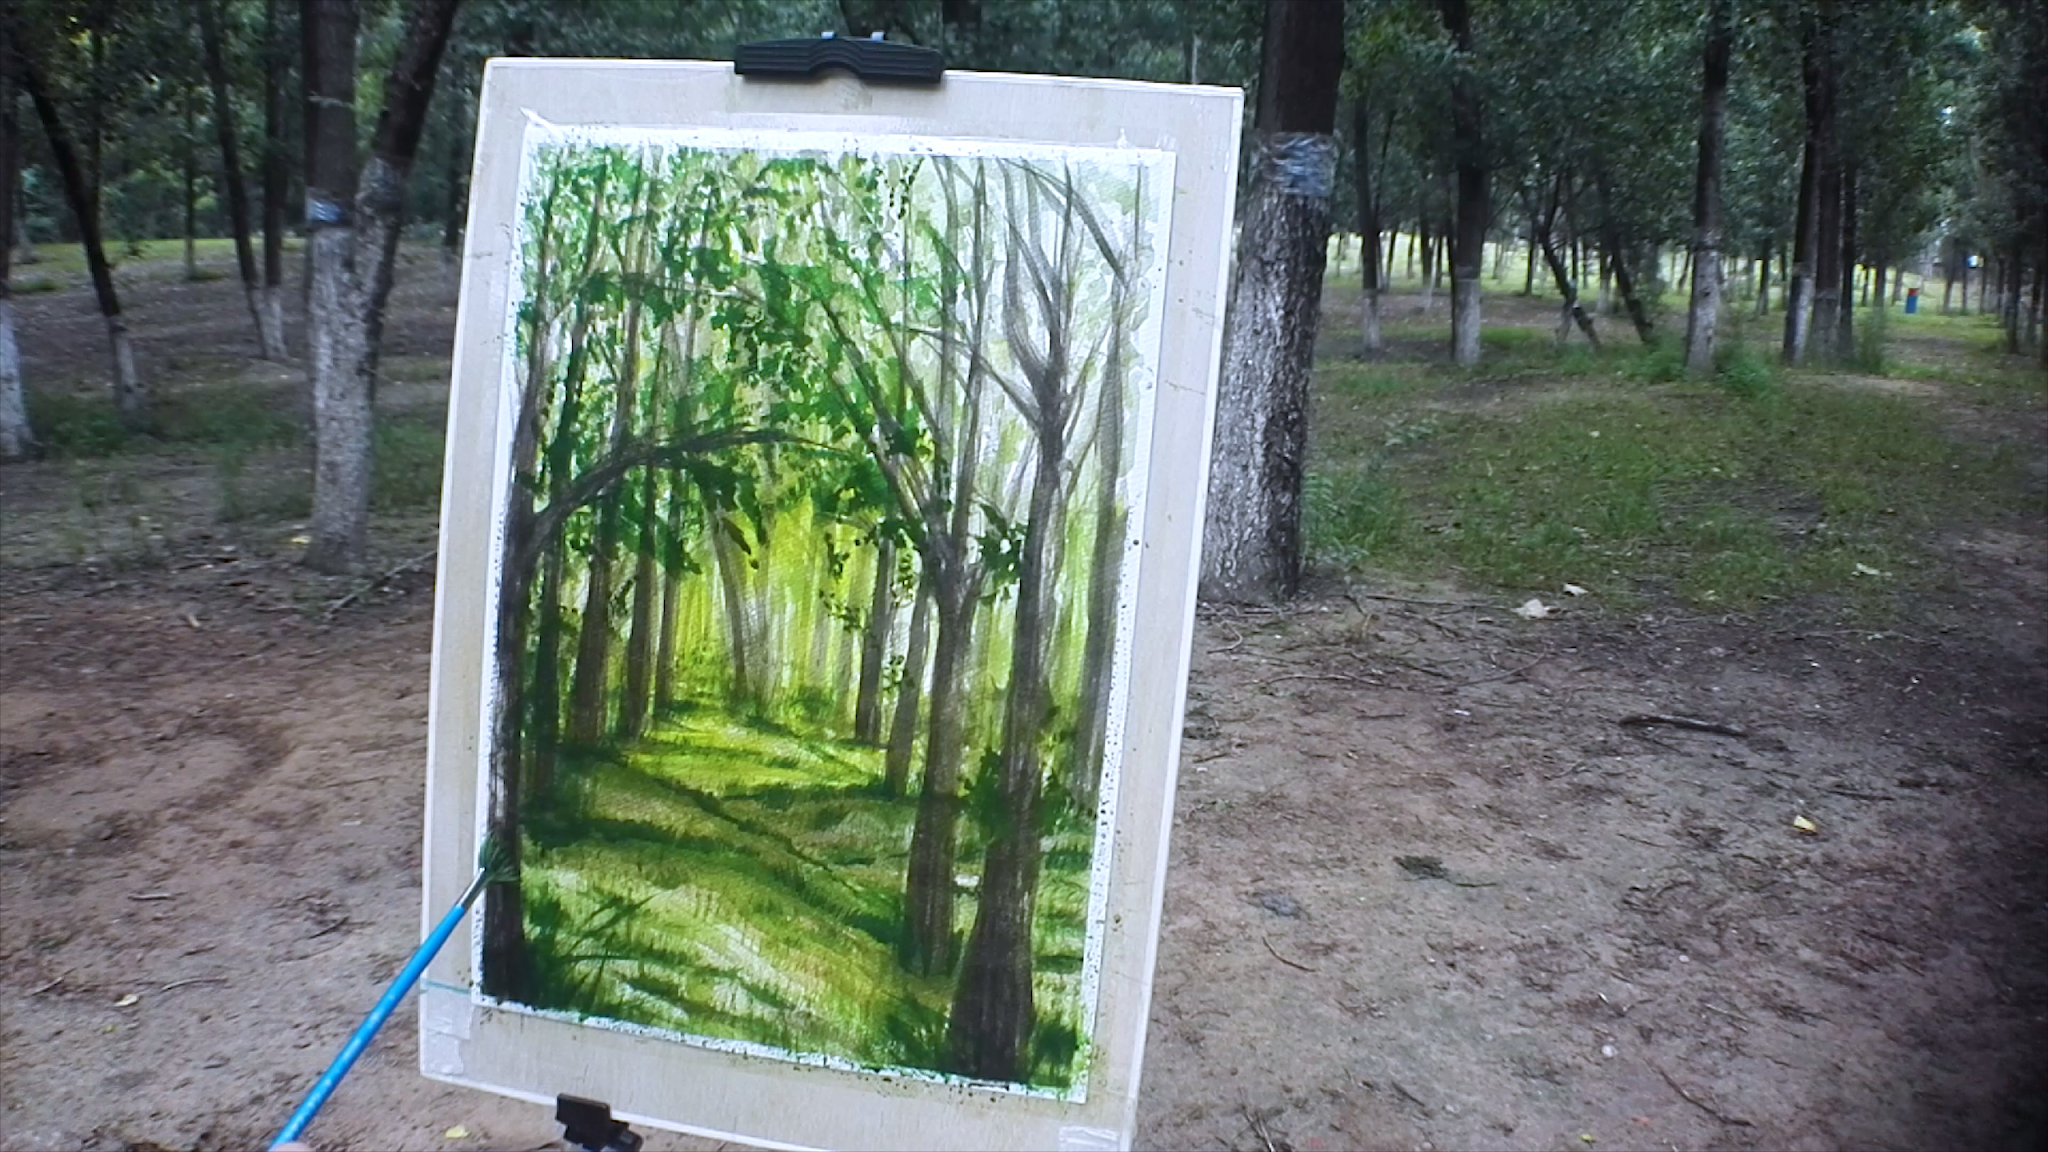
Use gouache green + white to draw the highlights of the leaves.Use gouache green + white to draw the highlights of the leaves.
Part 7.
Use gouache green + white +yellow to draw the highlights of the grass.Use gouache green + white to draw the highlights of the leaves.
Complete details, look at Painting.
Finally, Adjust the contrast of the painting's light and shade,It makes the trees look more layering.
Notice.
1. Painting the trees more layering. Use water. This is a really Watercolor style.
2. Clear Painting's feeling is what Watercolor shows. You will love it.
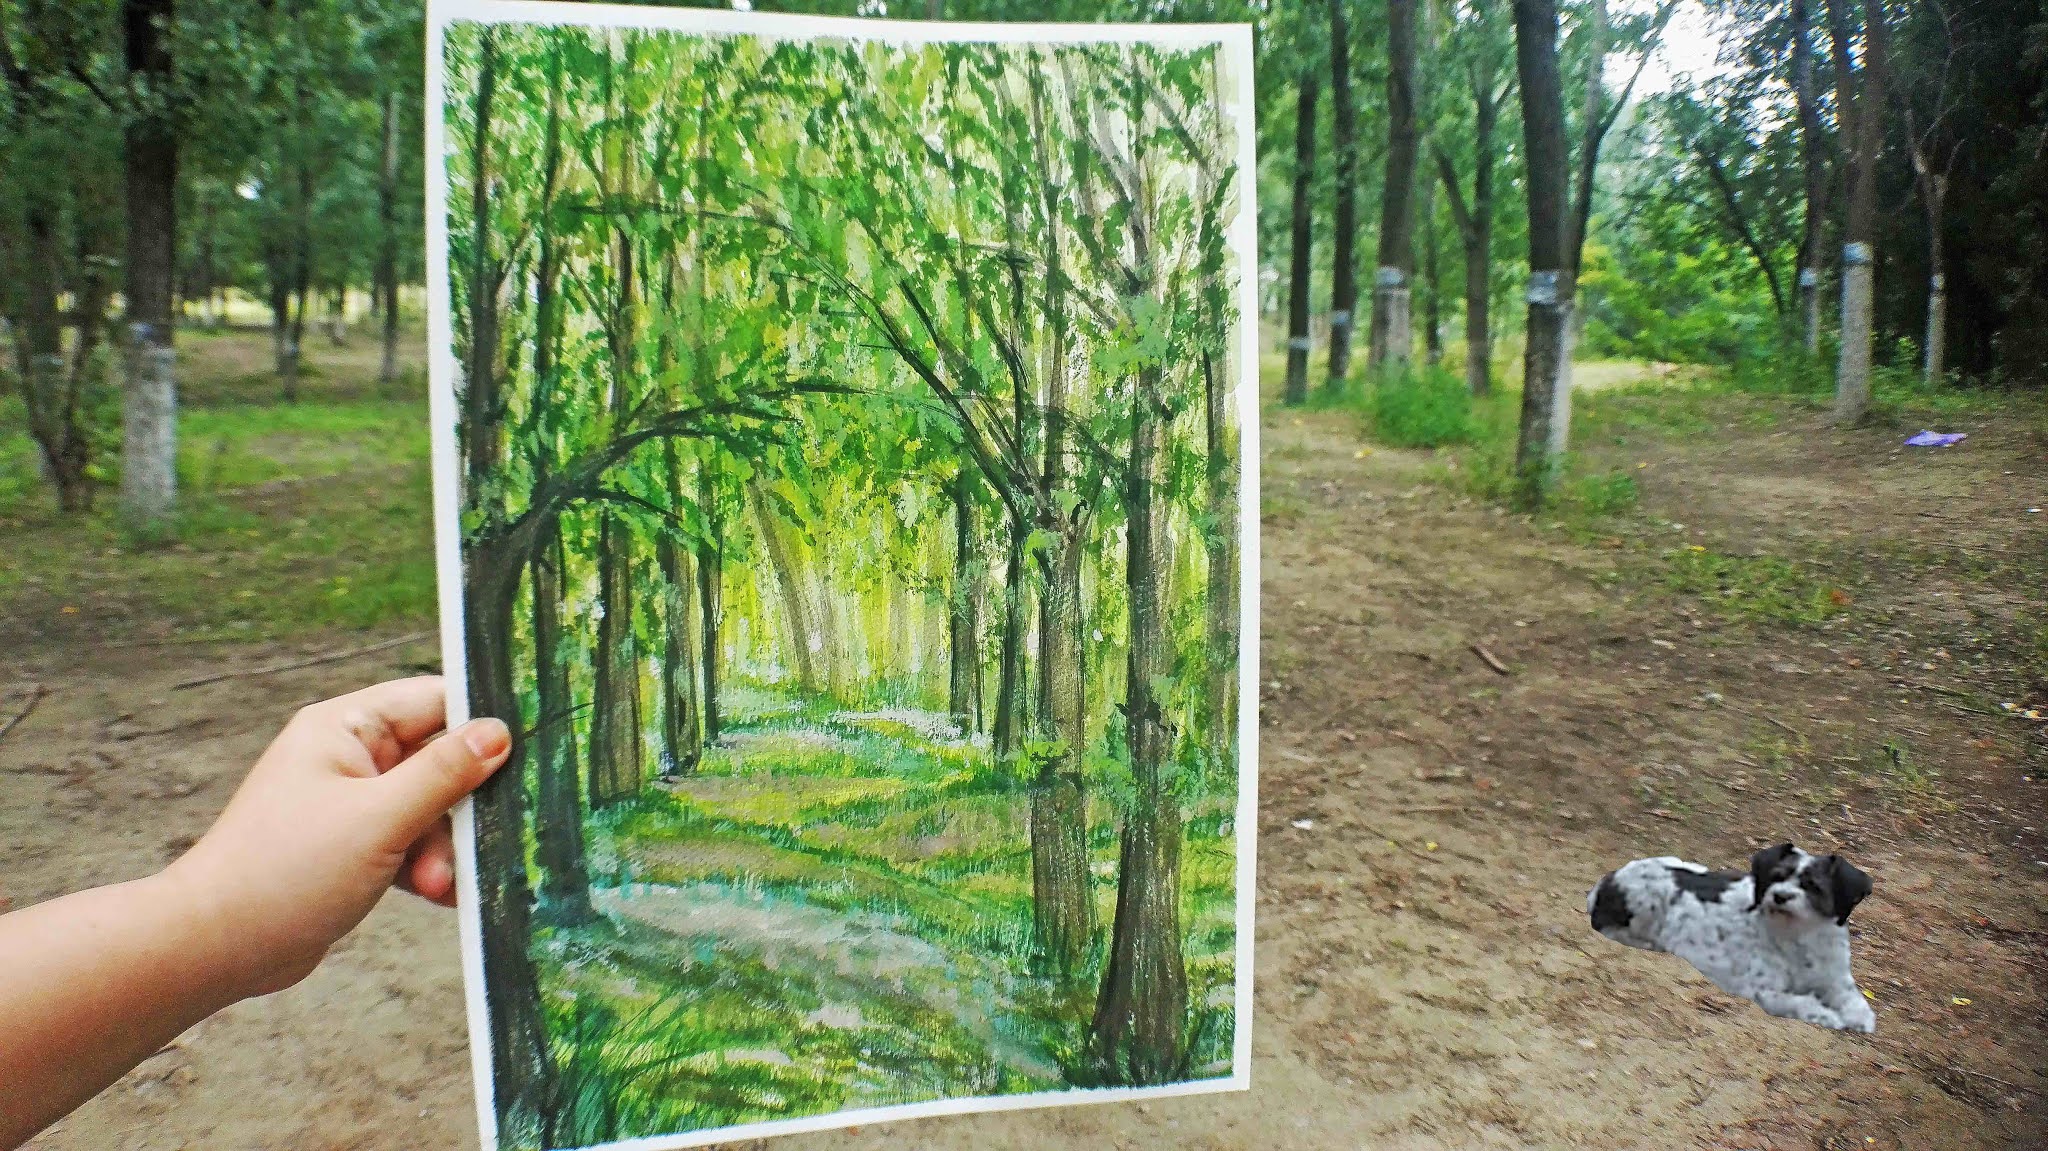
Well, here is an Amazing beautiful Watercolor forest landscape in front of you. Let's paint it.









0 Comments